Plastering corners – the ultimate guide
Read our tips on how to plaster inner and outer corners before painting or wallpapering.
-
Steg 1/4 Plastering corners
Produkter i användning
-
Steg 2/4 Plastering inner corners
-
Steg 3/4 Plastering outer corners
-
Steg 4/4 Last plastering
Step by Step
-
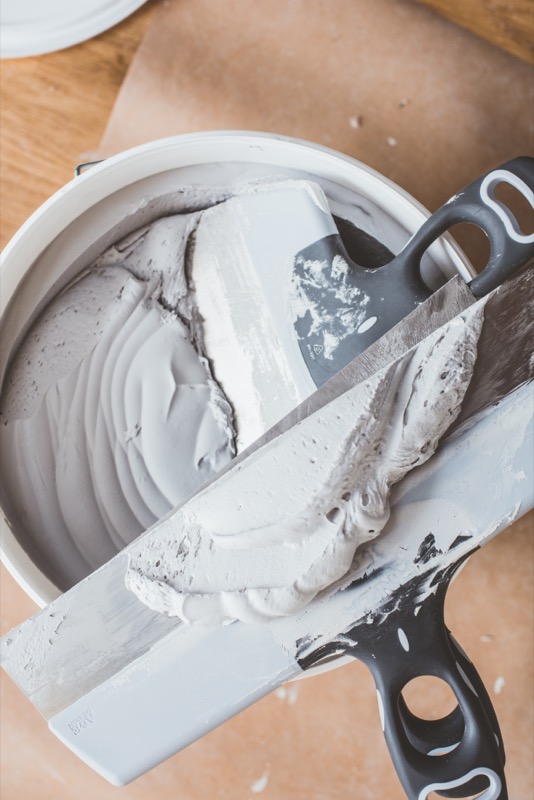
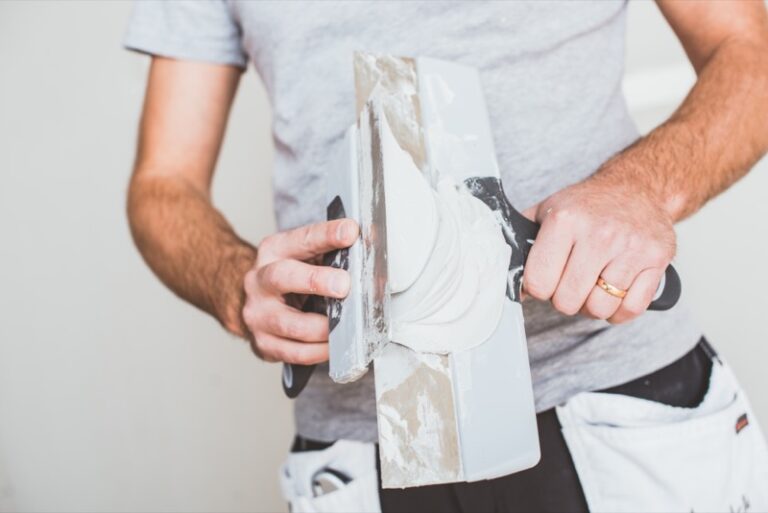
1
Plastering corners
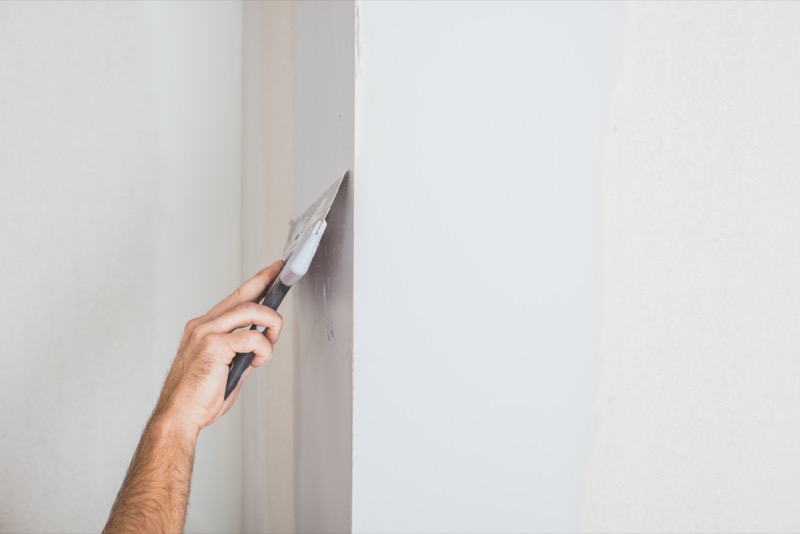
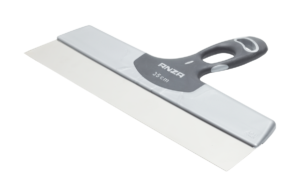
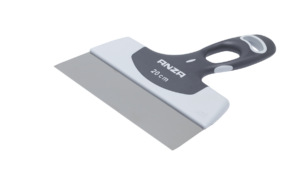
Always use two wide filling knifes. A smaller one to fit in the bucket and a large one to hold jointing compound. Keep in mind that the jointing compound should be intended for jointing tape – for example, ordinary plaster is too dry.
-
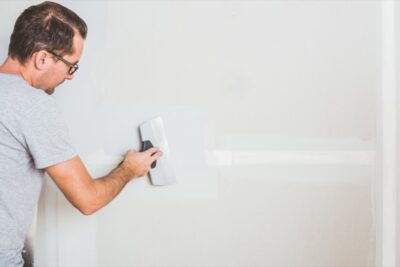
2
Plastering inner corners
When you get to an inside corner, where two walls meet, you’ll need jointing tape. The jointing tape are designed to join plasterboard together and reduce the risk of cracking. Apply jointing compound in the corner with a wide filling knife. Fold the tape lengthwise at 90 degrees and press it into the jointing compound. Then plaster over the strip wet on wet. Let dry.
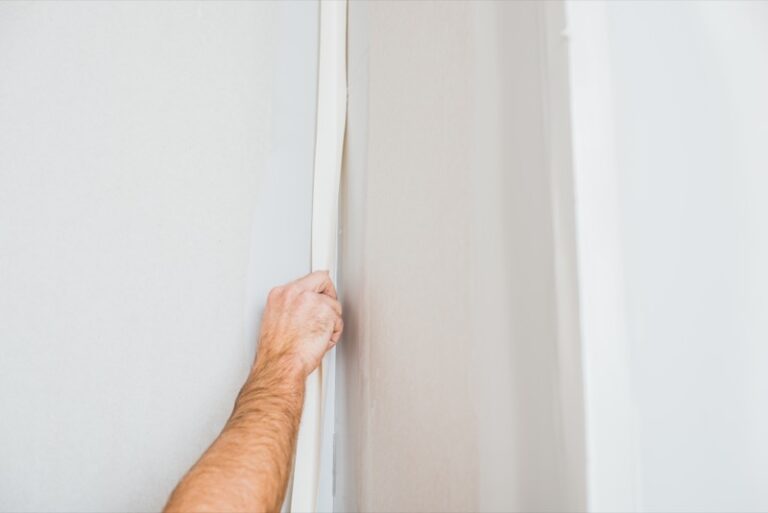
Add another coat of jointing compound and let dry. The jointing compound shrinks when it dries, so you will need to plaster several times.
-
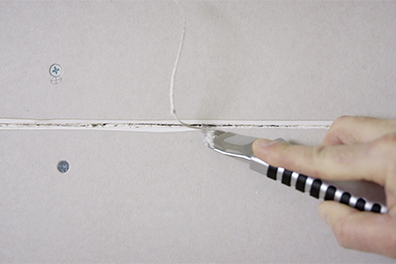
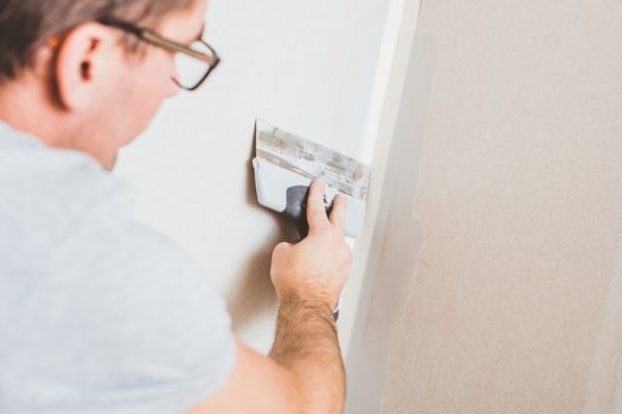
3
Plastering outer corners
To get strong and straight corners, use metal corner protectors or metal-reinforced strips. Corner protectors secure against wear and tear. Apply jointing compound on both sides of the corner. Install the strip according to the manufacturer’s instructions, or plaster the strip the first time “wet on wet”. Let dry.
Add another layer of plaster and allow to dry.

-
4
Last plastering
Sometimes an extra coat of plaster is needed, depending on how much the plaster has shrunk when it dries. On painted walls, it may also be necessary to repaint once the walls have been primed. Be careful when sanding plastered surfaces. Use a hinged sanding tool and a extension pole – and don’t forget respiratory protection. Wipe off the sanding dust with a microfibre cloth.
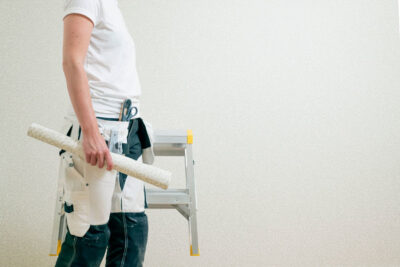
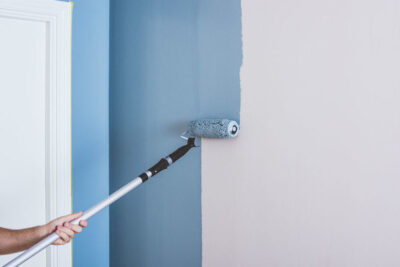
There you go! Now you can start painting or wallpapering:
Paint walls – how to, step by step
Wallpapering – how to, step by step