Plastering drywalls – how to, step by step
The quality of the final result when painting or wallpapering depends largely on the substrate. On a new drywall, the joints between the drywalls and the screw holes need to be filled and sanded to give you a perfectly smooth surface. Follow these three steps and you’ll find it easier to succeed.
-
Steg 1/5 Prep work
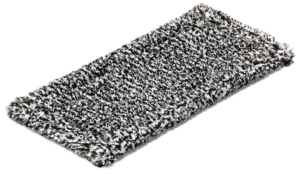
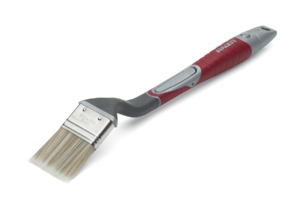
Produkter i användning
-
Steg 2/5 Base coat
-
Steg 3/5 Plastering technique
-
Steg 4/5 Plaster corners
-
Steg 5/5 Last layer

Step by Step
-
1
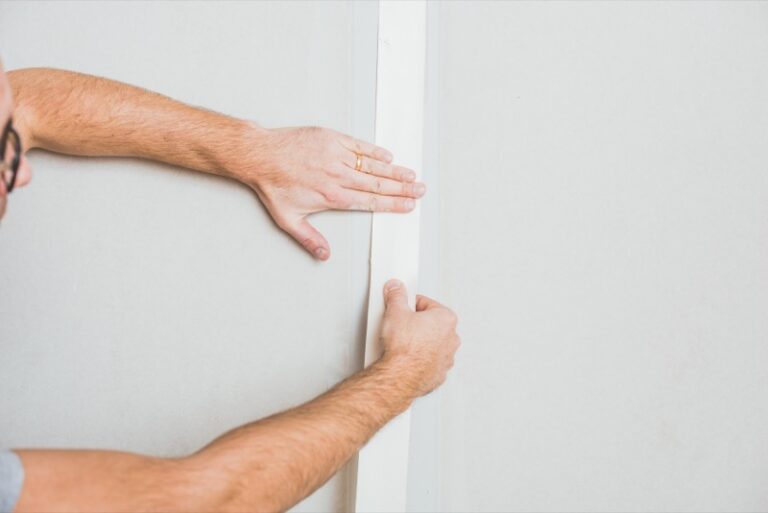
Prep work
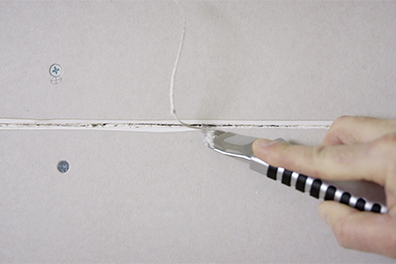
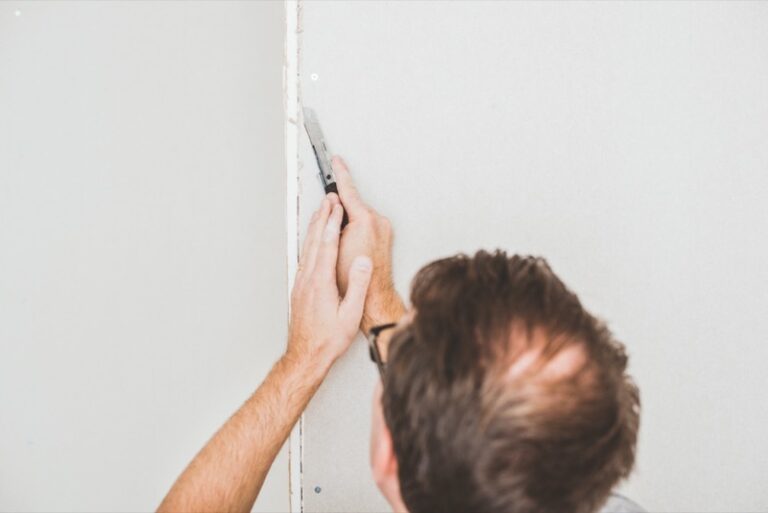
Start by covering the floor with cardboard. Make sure that all screws are properly screwed in and that no plaster is loose. If any plaster is damaged or loose, cut it away. Where two boards without a recess meet, you need to cut a chamfer.
-
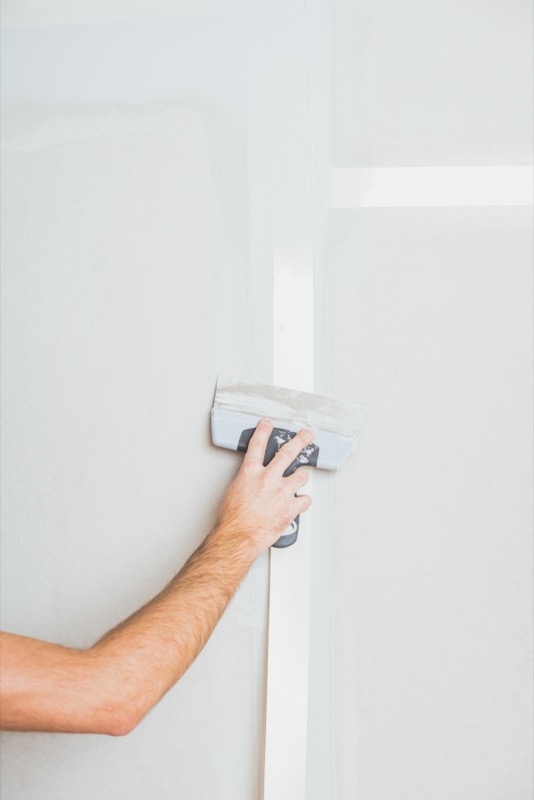
2
Base coat
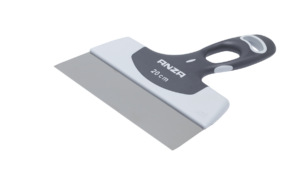
Start by filling any cut joints with a wide filling knife and allow to dry. Sand and wipe off the sanding dust. Then attach the seam strip with tissue glue that you brush on to get a good hold. Use plasterboard adhesive for gaps and damages larger than 3 mm. Plasterboard adhesive dries faster than plaster.
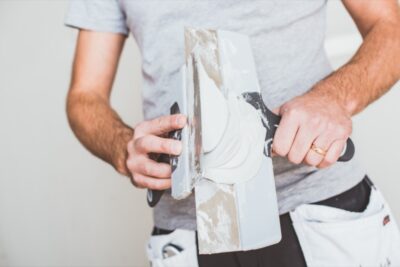
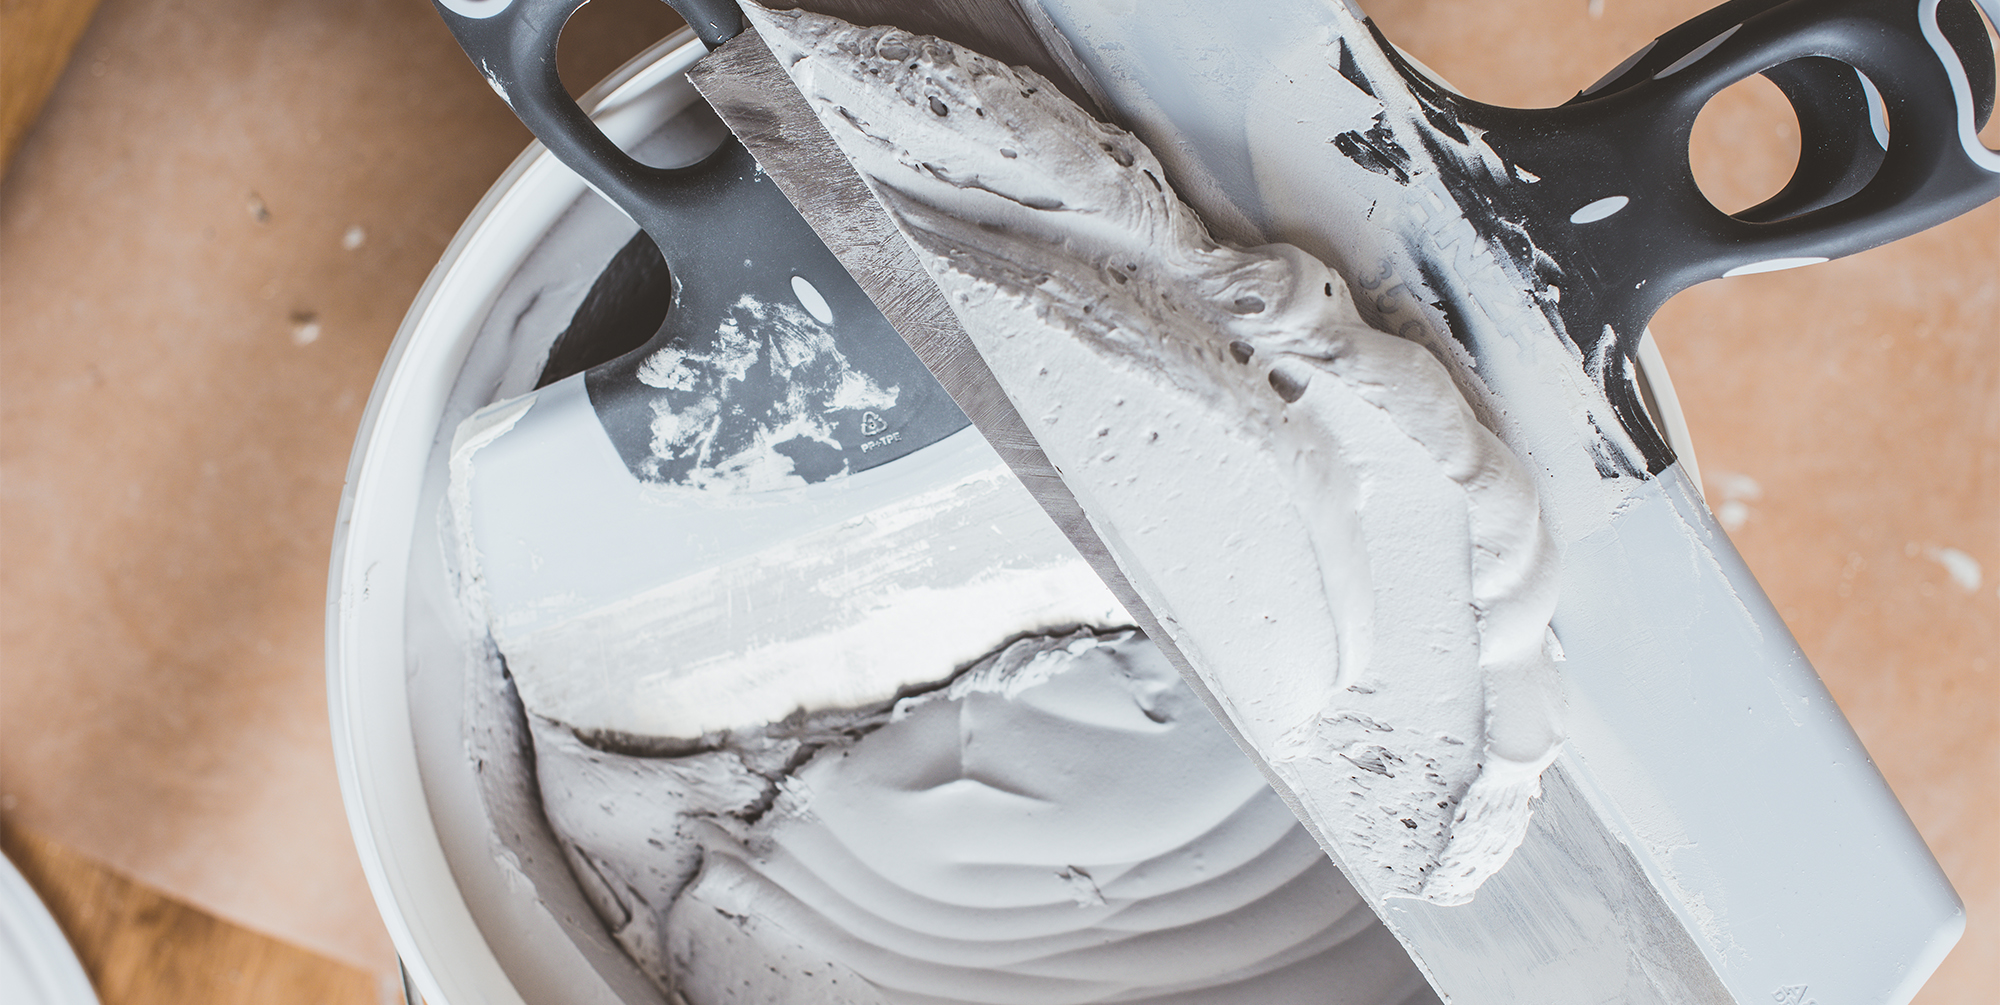
 Always use two wide filling knifes. A small one that fits in the bucket and a large one to hold putty.
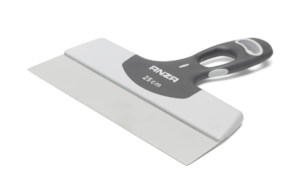
Now scrape all the recesses. Spread the plaster over the joint and press the joint tape into the plaster before it dries. Joint tape are used to avoid future cracks. Always use paper joint tape, they are dimensionally stable in all directions. Apply a new coat of plaster over the strip immediately. Don’t forget to putty over screw heads and small holes.
You don’t need to sand between the layers of plaster, but make sure you iron the plaster out properly. Let the putty dry.
-
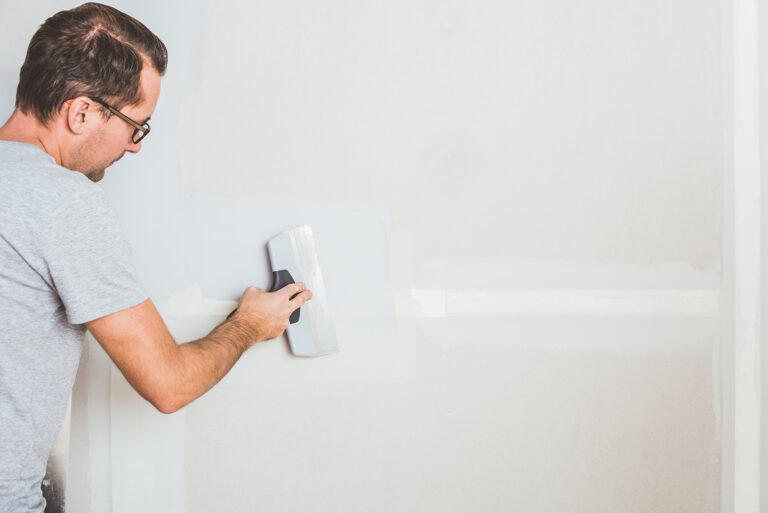
3
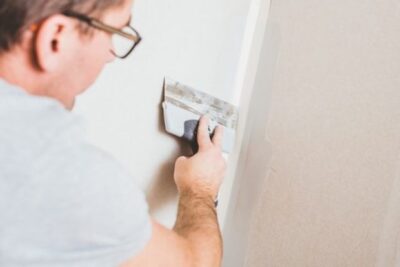
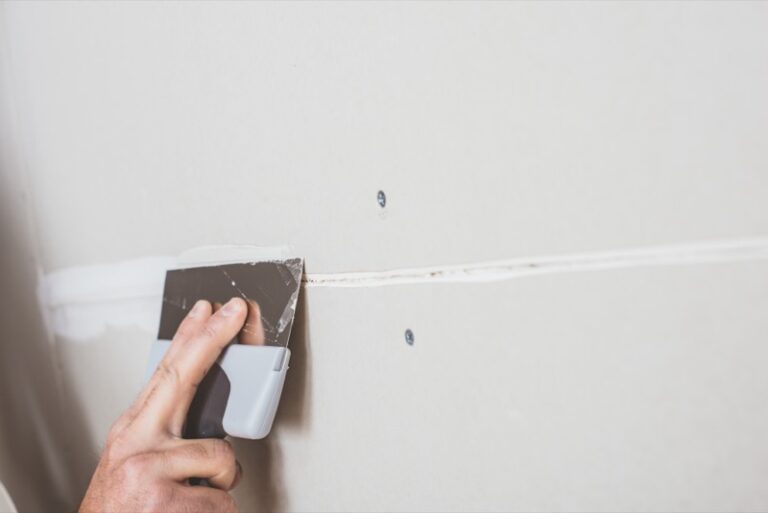
Plastering technique
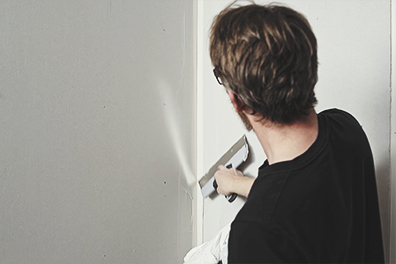
Hold the filling knife in the same way as in the picture. This way you can use your index and middle fingers to control the filling knife by pressing and releasing your fingers.
-
4
Plaster corners
Plastering corners requires a special approach. Read our guide on plastering corners for a great result.

-
5
Last layer
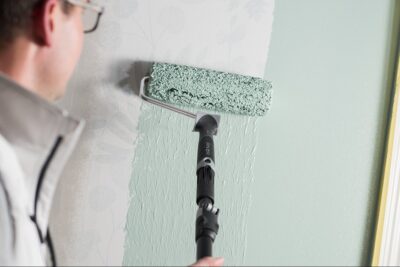
Now add another layer of plaster and leave to dry. As the plaster dries, it shrinks, so you need to apply plaster several times.
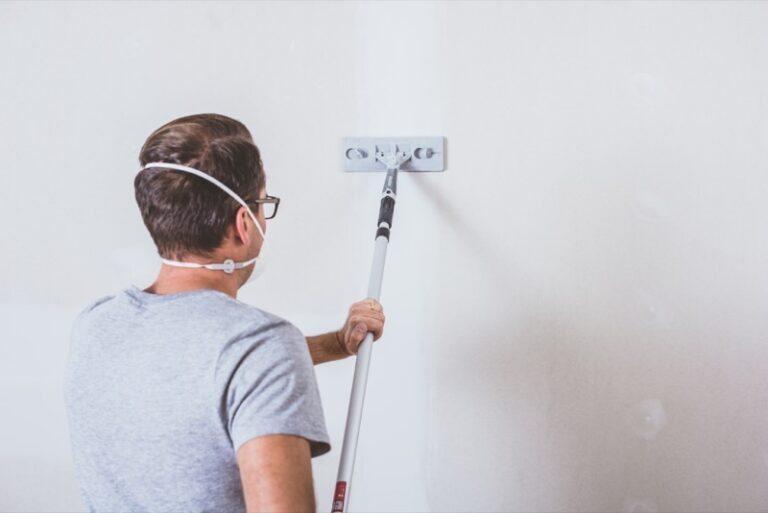
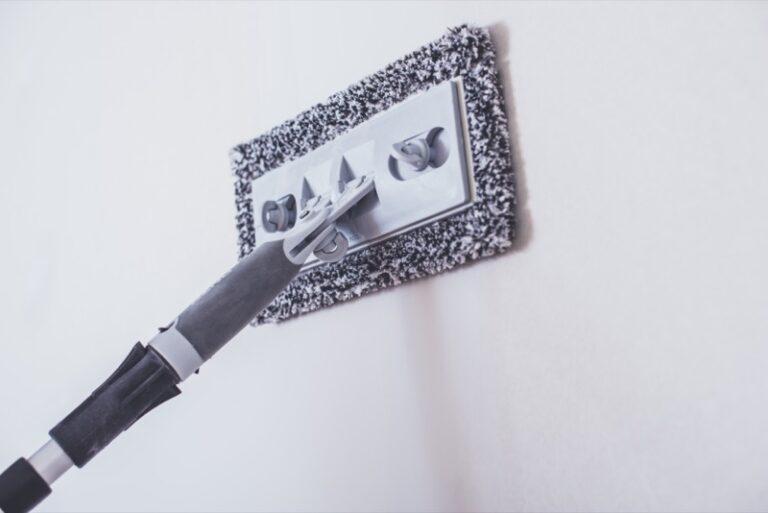
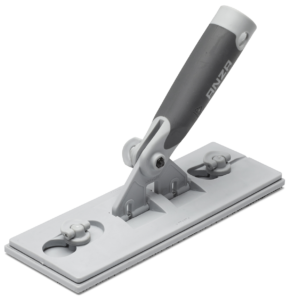
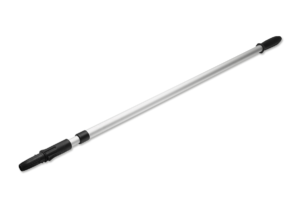
Be careful when sanding. Use a hinged sanding tool and a extension pole – and don’t forget respiratory protection. When you have finished sanding, it is important to wipe off any sanding dust on the wall with a microfiber cloth. And there you go! Now you can start painting or wallpapering.