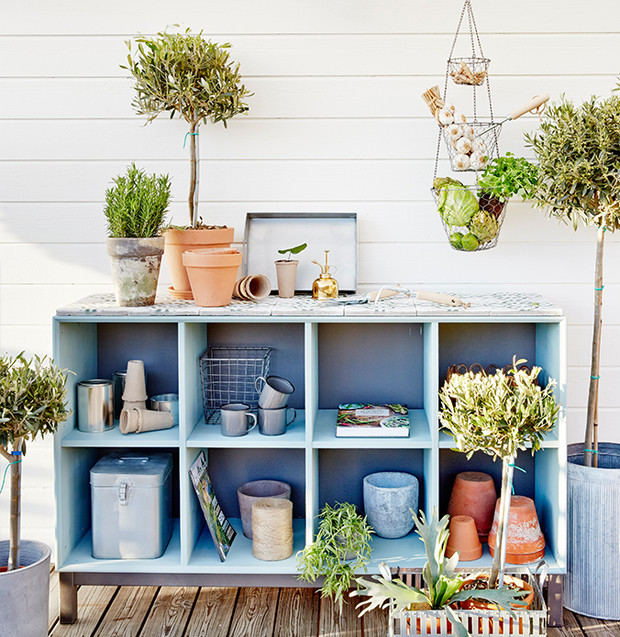
Colorful garden station – how to, step by step
We took paint and tiles and created a practical workbench with good storage and space for planting plants.
-
Steg 1/4 Sanding
Produkter i användning
-
Steg 2/4 Prime
Produkter i användning
-
Steg 3/4 Paint
Produkter i användning
-
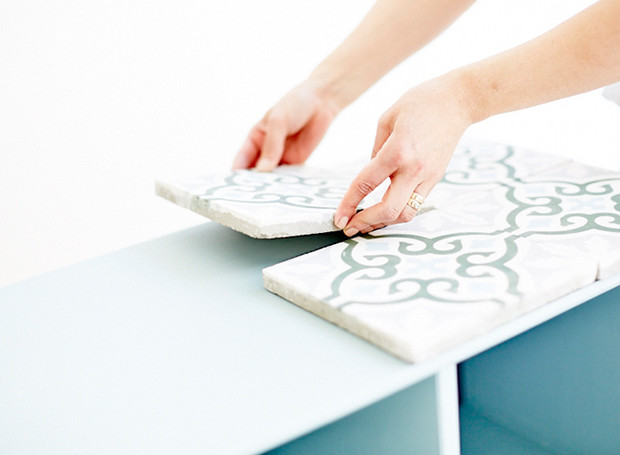
Steg 4/4 Tile

Step by Step
-
1
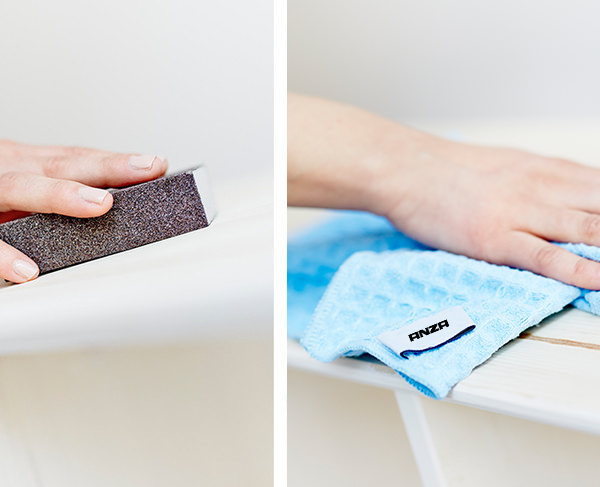
Sanding
Start by lightly sanding the wood to get a surface that the paint will stick to. Then wipe off the sanding dust with a microfiber cloth.
Make sure to remove all sanding dust afterwards. A microfiber cloth is particularly effective.
-
2
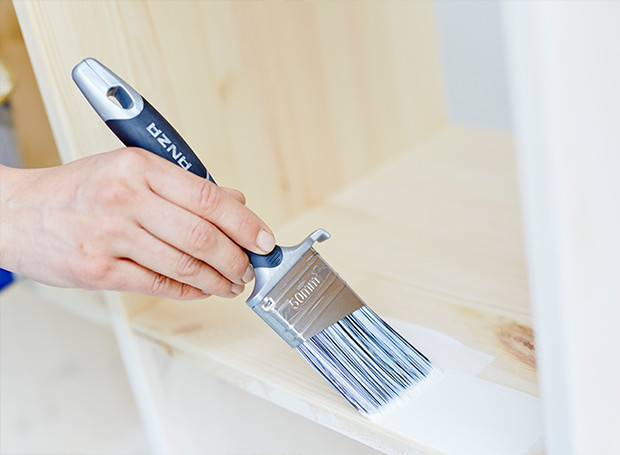
Prime
Prime the shelves with a base coat in the colour of your choice. This is done to make the paint stick better and last longer. Use a brush in corners and joints and paint with a mini roller on large areas.
-
3
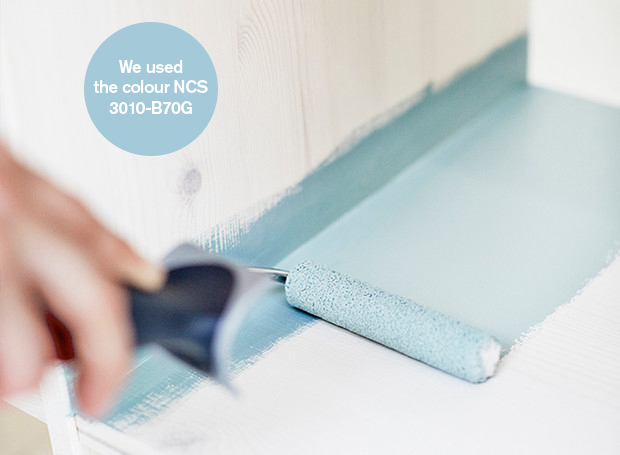
Paint
Once the primer has dried, it’s time to paint. As with the base coat, roller and brush are combined.
-
4
Tile
Once the painting is done, tiles, in this case Voltaire evergreen from Marrakech Design, are put on the shelf as a top. It gives a nice look and protects the surface at the same time. It can therefore be used as a workbench, for planting plants and storing tools and pots.