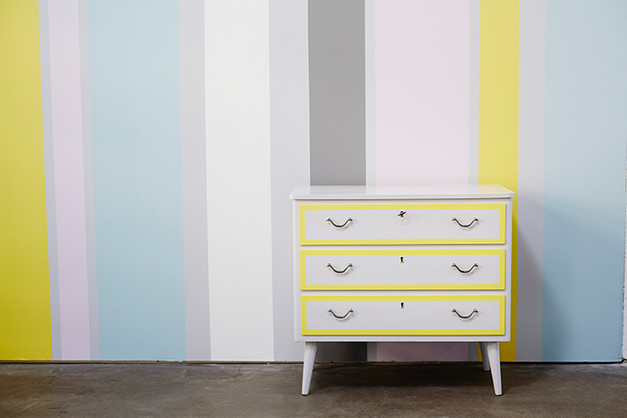
Paint dresser – how to, step by step
Flea markets and auction sites are full of old dressers and other furniture that can elevate a home. Some furniture may have been around for a long time and may need a little love and an update to fit into a modern home. Many of them are just one painting project away from becoming the room’s prettiest and most personal detail. In this video, we show how you can easily give your furniture a complete renaissance by painting it striped.
-
Steg 1/3 Prep work
Produkter i användning
-
Steg 2/3 Paint
Produkter i användning
-
Steg 3/3 Create patterns
Produkter i användning

Step by Step
-
1
Prep work
A small filling knife is flexible and comes in several different widths. Ideal for filling small holes and irregularities.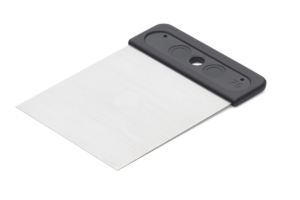
Protect
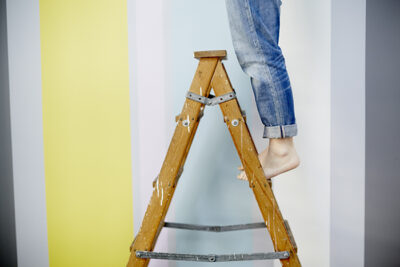
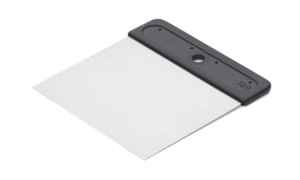
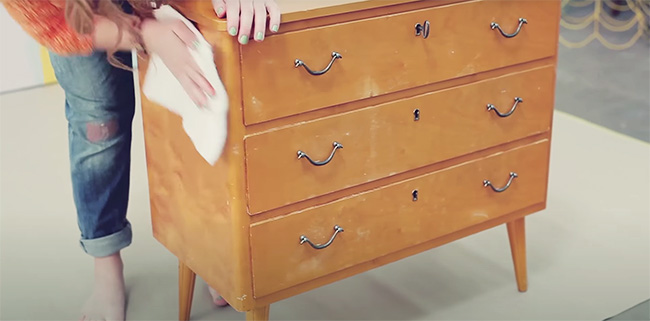
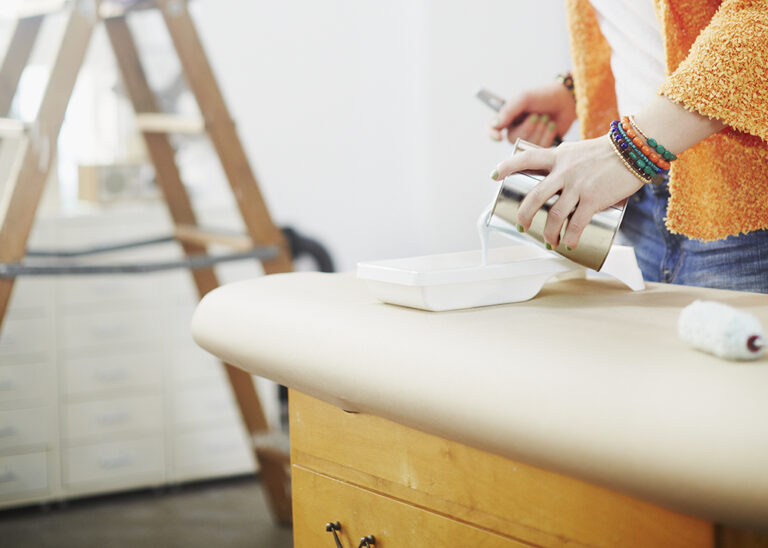
Before you start painting your cupboard, it is important to do some prep work to get the best possible end result. But before you start, make sure you have plenty of space where you are going to paint and put down cover paper to protect the floor from possible paint splatter.
Wash
Then start by washing away dirt and stains. These can otherwise bleed through the paint.
Spackle
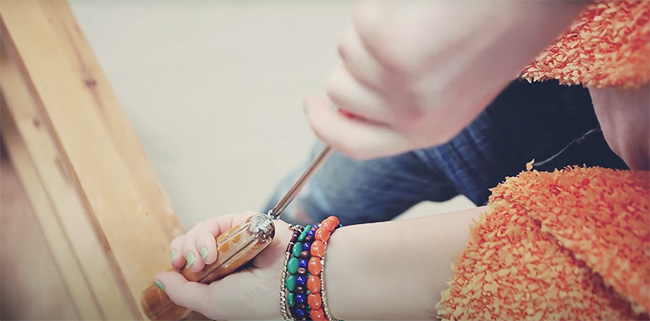
If you discover nicks and scratches in the dresser, be sure to putty over them using a small filling knife. Then let it dry.
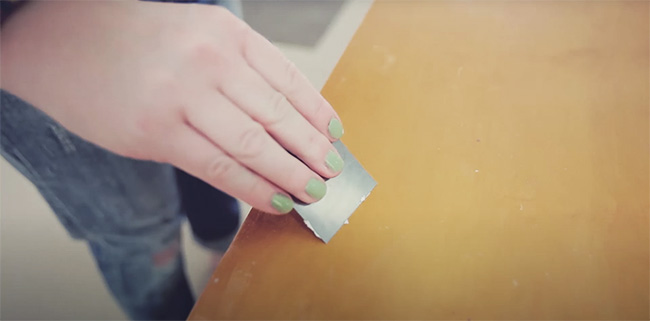
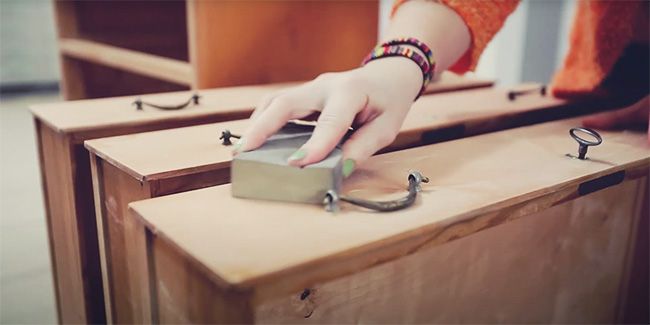
Sanding
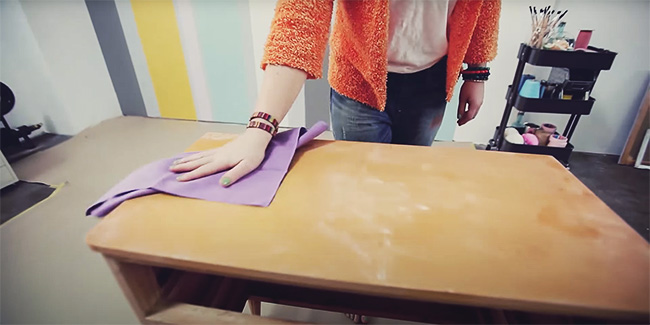
Then sand the entire dresser including the drawers with sandpaper. This is done because the paint adheres better to a surface that is roughened instead of one that is completely smooth. Then wipe off the sanding dust with a dry cloth or a microfiber cloth.
-
2
Paint
Basic painting
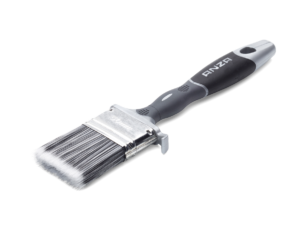
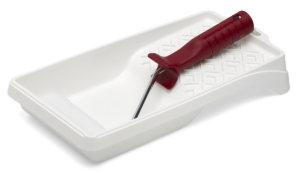
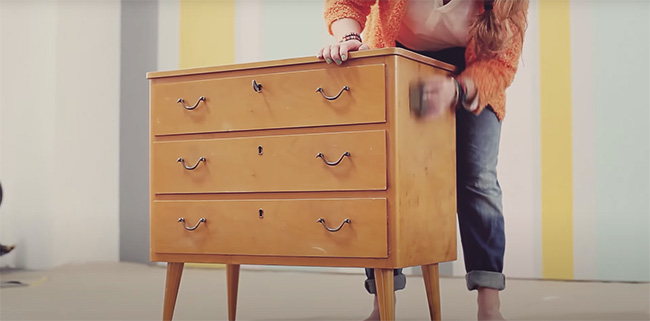
Now it’s time to start painting your dresser! Start by priming, it makes the paint adhere better and last longer. Use a flat brush to paint details and a roller for large surfaces.
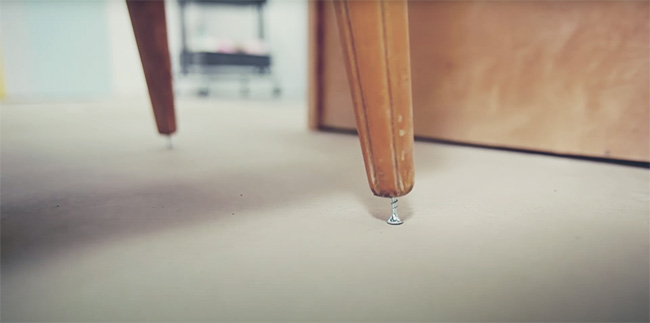
Remember to take the drawers out of the dresser when you paint, so you can access everywhere. You can also attach screws or nails to the underside of the dresser legs to make it easier to paint around them.
Paint
Now paint the entire dresser in your chosen colour. Start by painting along the edges with a brush and then fill in the larger areas with a roller. When the first layer of paint has dried, you can paint another layer.
Anza's Platinum brush series gives the dresser a really nice surface. The brushes pick up a lot of color and have extra fine bristles at the top to give a really nice finish.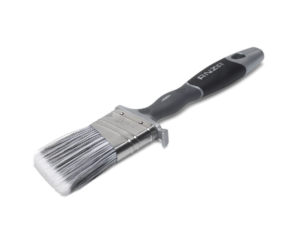
-
3
Create patterns
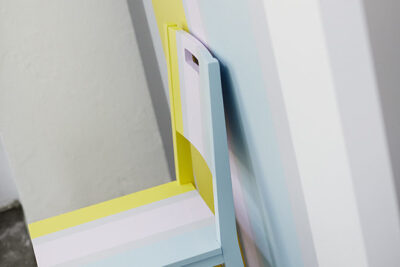
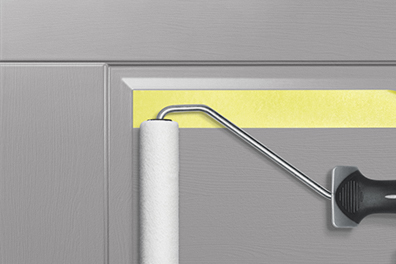
If you want to be a little more creative, you can paint your own patterns on the dresser using masking tape. Use an indoor masking tape that provides extra sharp edges. To get really straight lines, you can use a folding ruler or a regular ruler.
After you’ve created your pattern on the dresser and/or drawers, it’s time to paint again. Use a different color than the one you painted the dresser in and paint between or over the masking tape, depending on the pattern you created. Let the paint dry and then paint another layer.
Then remove the masking tape before the paint dries completely. Done!

Want more inspiration? See our guide: Repaint cupboard – front with new colours