Paint a stick chair – how to, step by step
Do you have old stick chairs at home that need painting? Below we show you the step-by-step process to give your older chairs some love with new paint!
-
Steg 1/6 Clean
Produkter i användning
-
Steg 2/6 Sanding
Produkter i användning
-
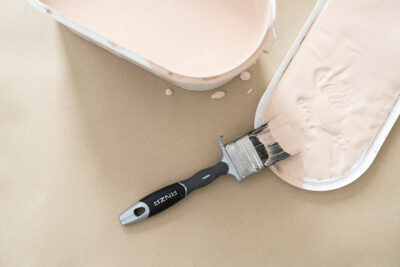
Steg 3/6 Basic painting
Produkter i användning
-
Steg 4/6 Spackle
Produkter i användning
-
Steg 5/6 Paint
Produkter i användning
-
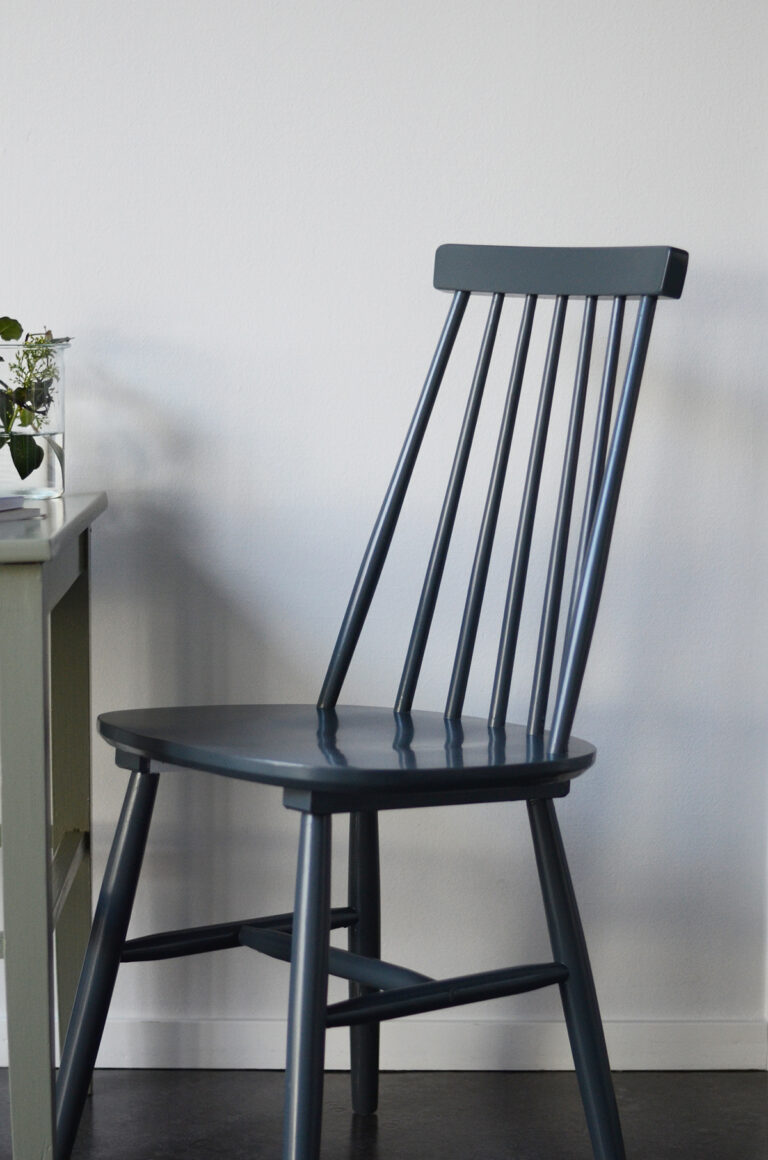
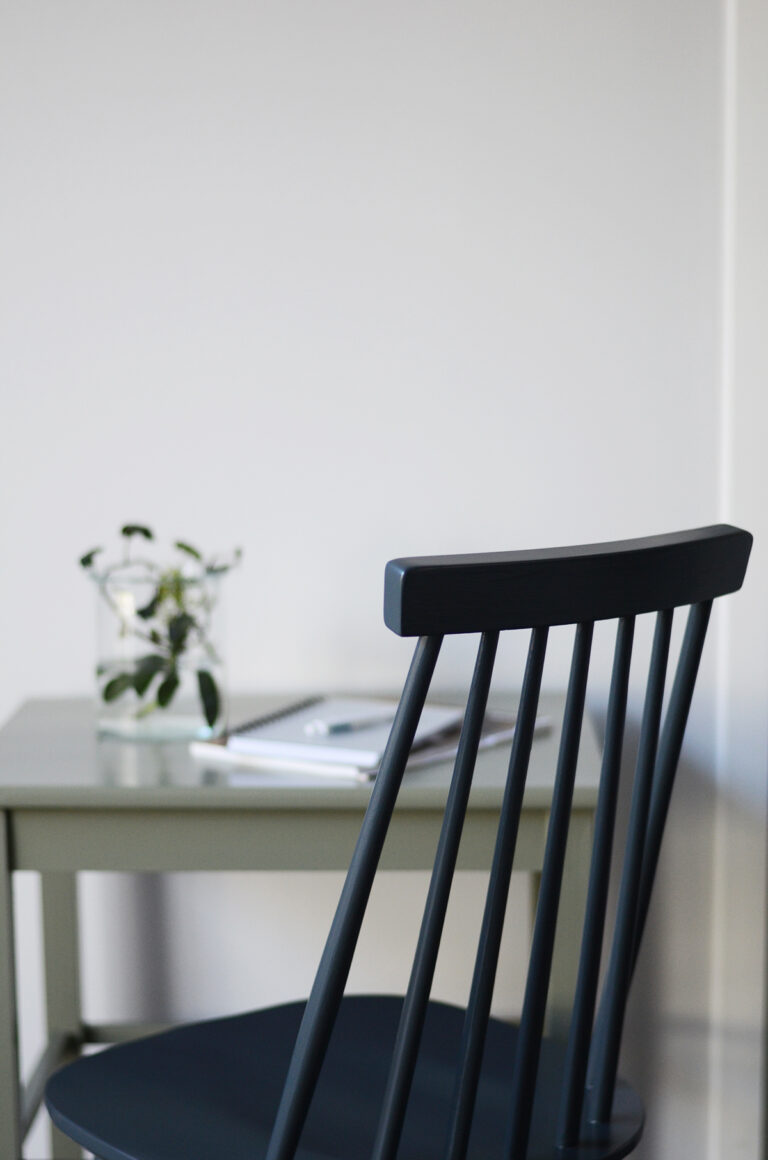
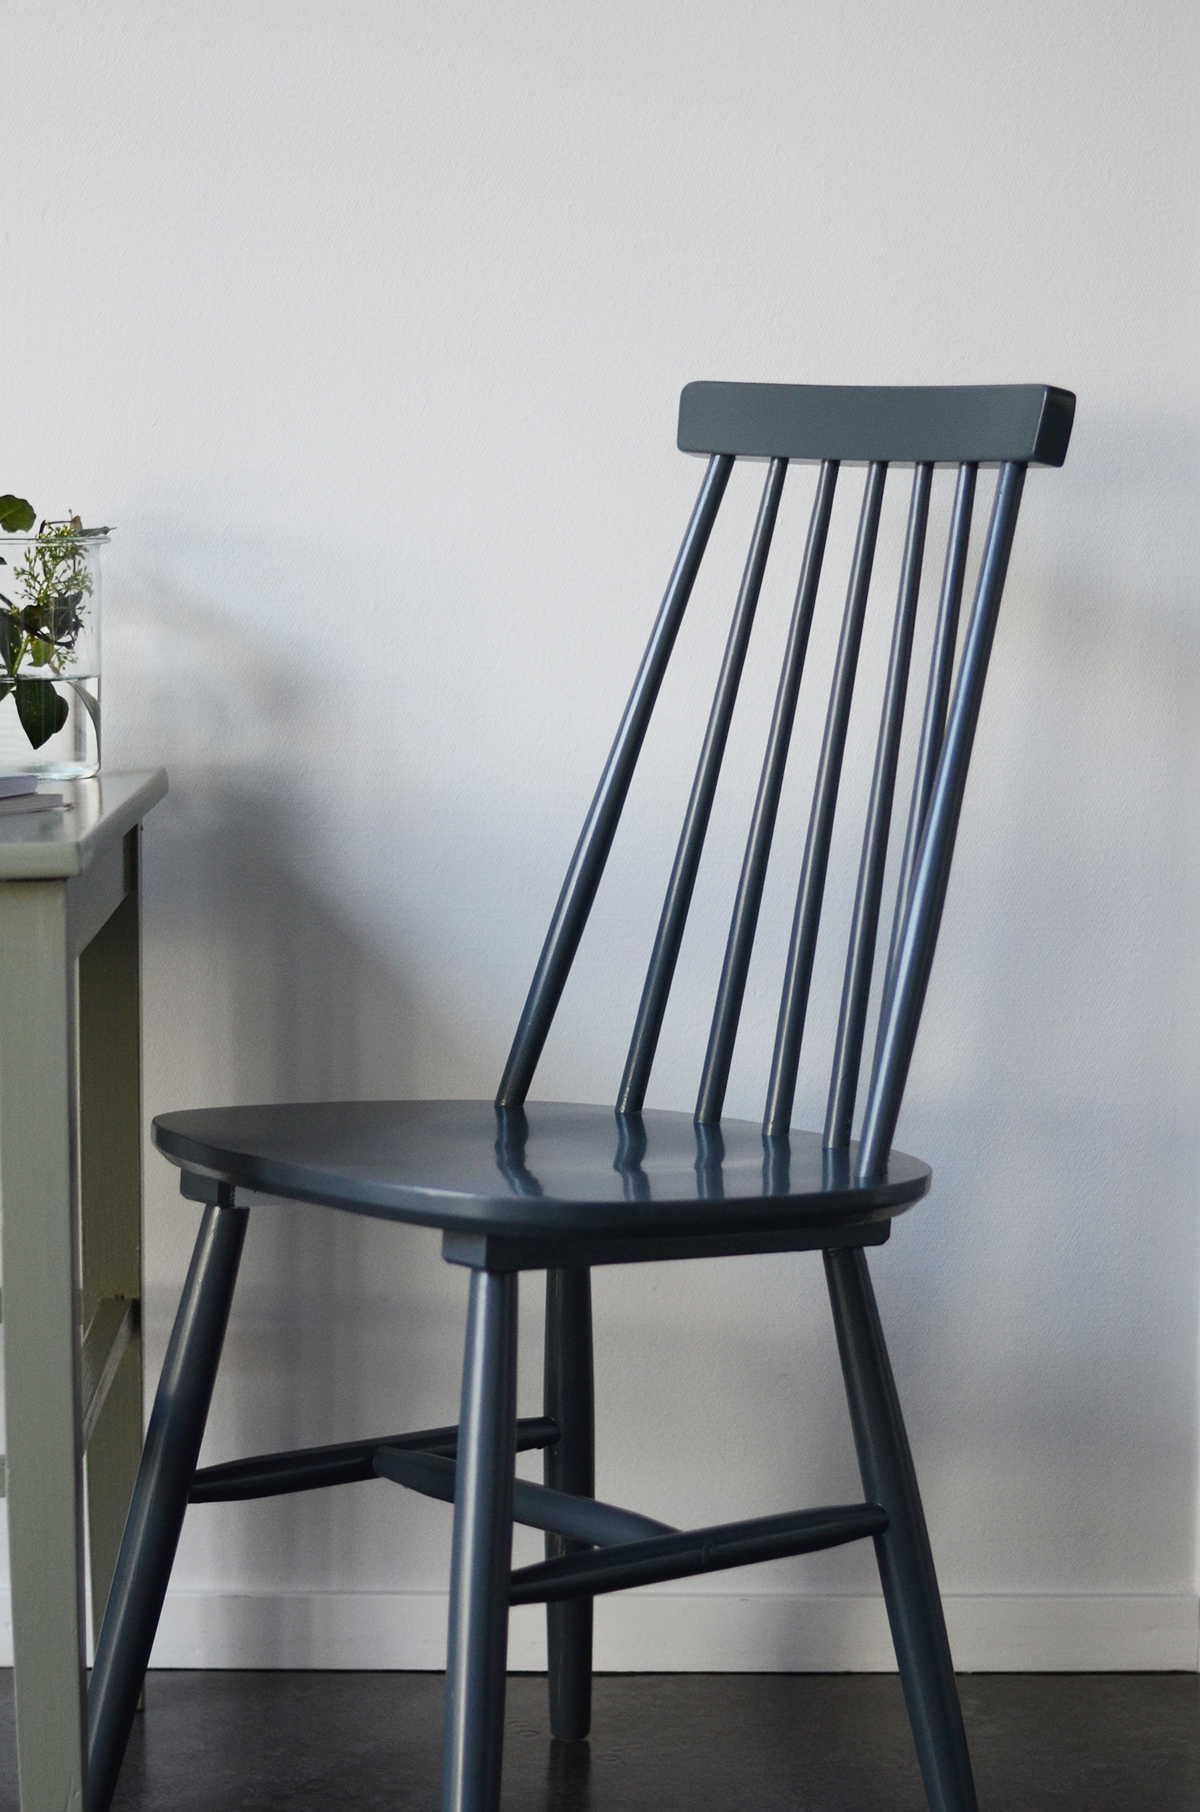
Steg 6/6 Done!

Step by Step
-
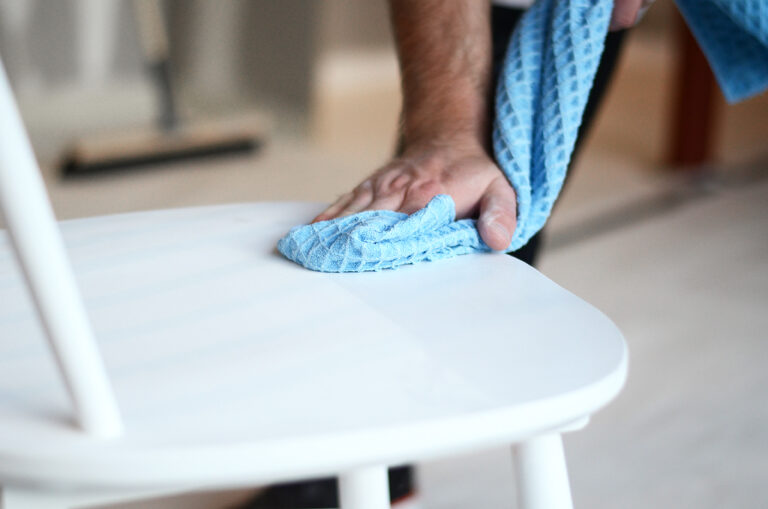
1
Clean
Before you start painting your chair – start by covering your work surface with for example rosin paper, to protect against any paint splashes. Then clean the entire stick chair using a detergent and a microfiber cloth, this will help to remove all dirt and grease from the chair before painting.
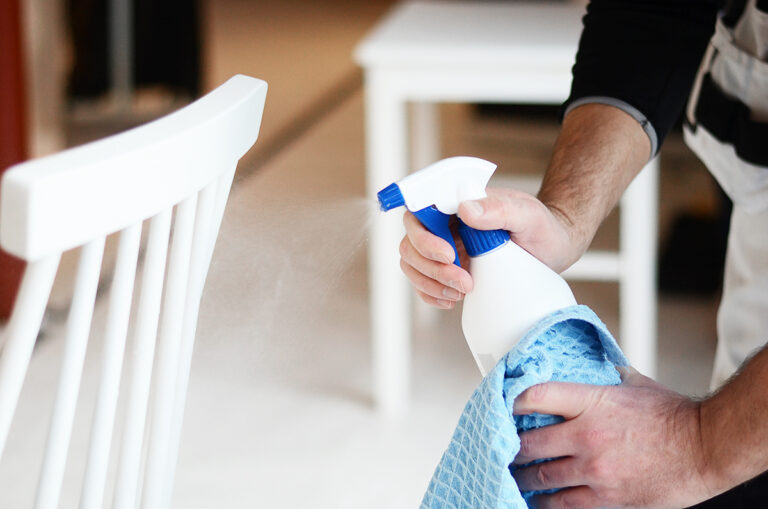
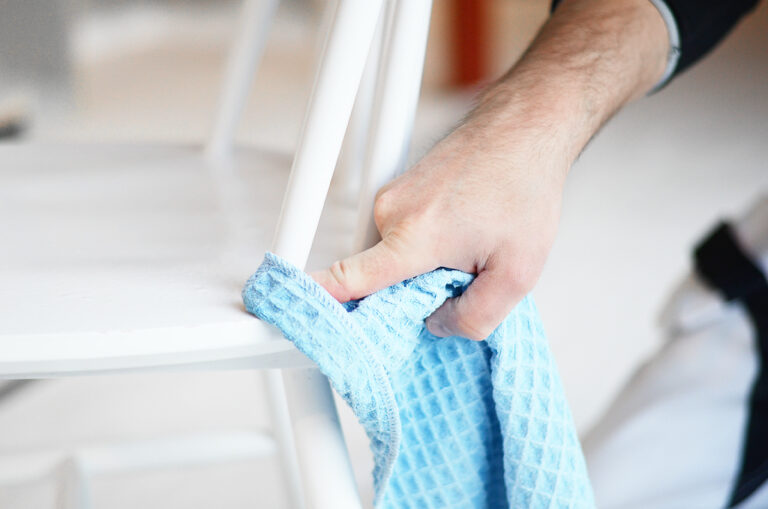 Clean extra carefully at the top of the back of the chair. This is the part that gets the most wear and tear, which can mean more dirt and grease than other surfaces.

-
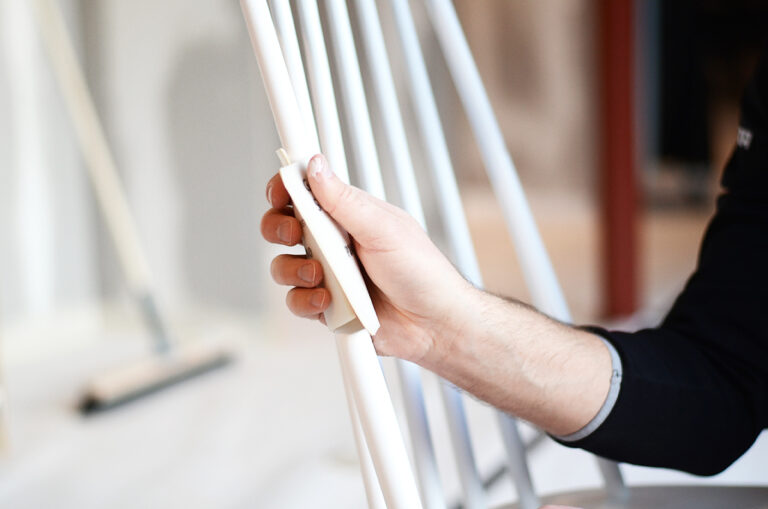
2
Sanding
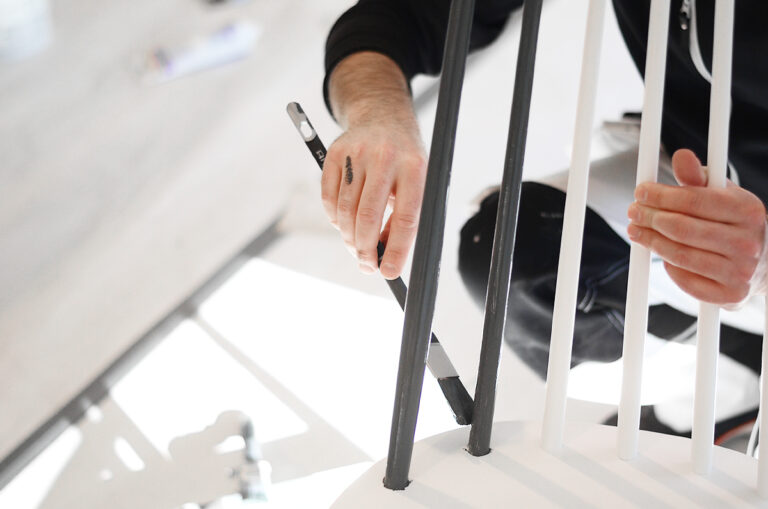
After you’ve cleaned the chair properly, it’s time to sand. This is done to get rid of imperfections and to make the paint adhere better when you paint your chair. However, be careful not to sand too deeply, as you could damage the surface of the chair.
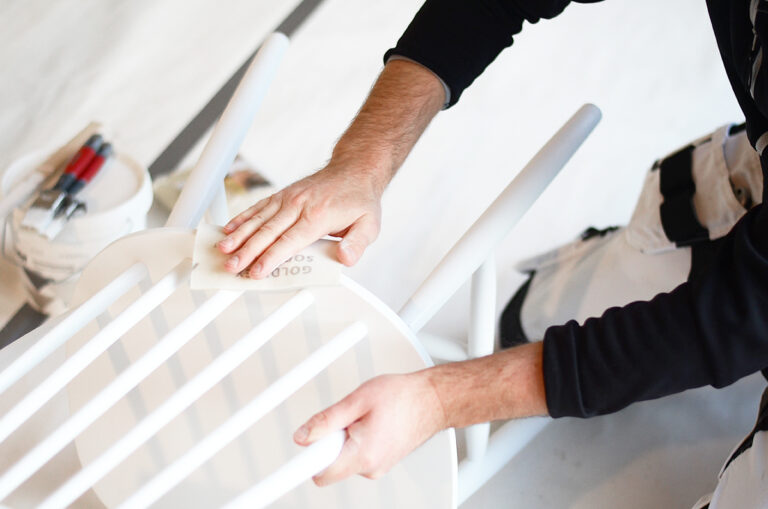
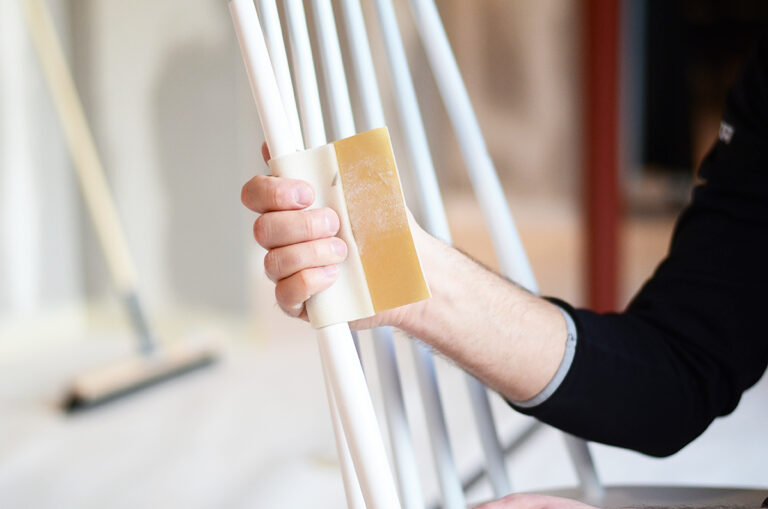
When you have finished sanding, you need to wipe off the sanding dust. This is best done using a microfiber cloth. The cloth ensures that you get all the dust out and that you have a clean and nice surface for the base coat.
-
3
Basic painting
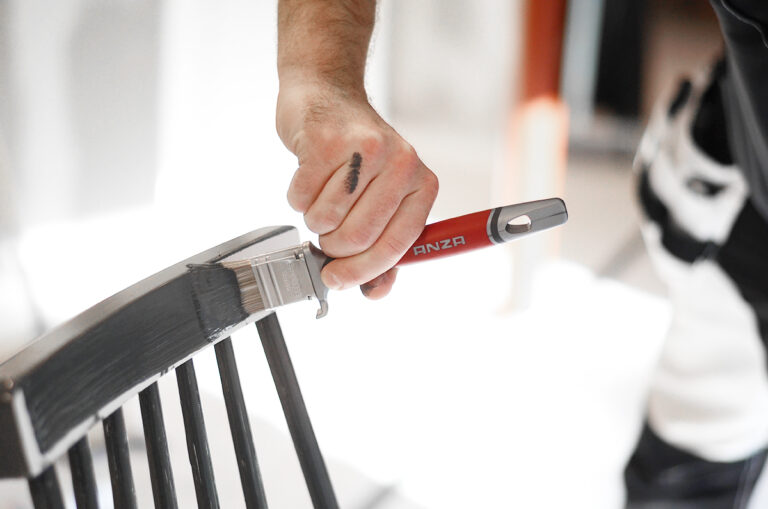
Now it’s time to start priming your chair with a base coat, this will allow your paint and any putty to adhere properly.
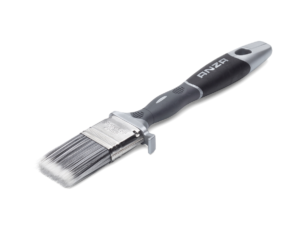
Start by painting the chair legs so you can easily turn the chair around when you’re done, then paint the back of the chair and finally the seat itself. Use a smaller paintbrush on the smaller surfaces and a larger one on the chair seat, for example. You can also use a mini roller if you want to speed up the process.

-
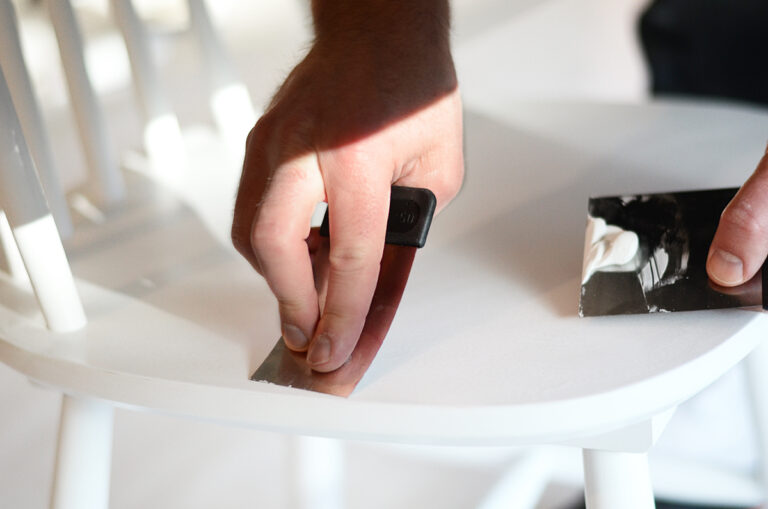
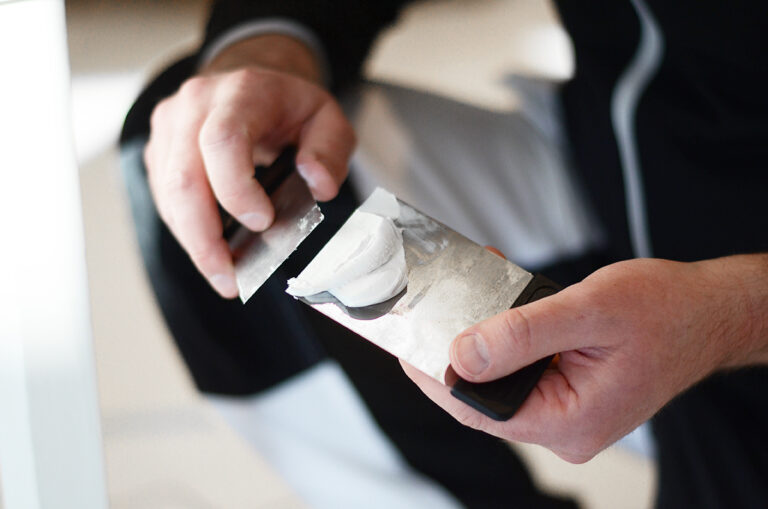
4
Spackle
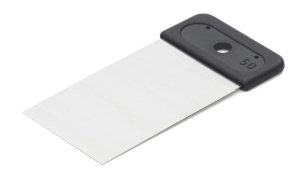
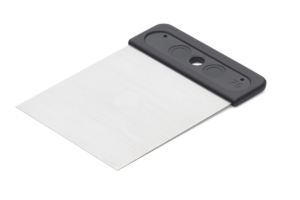
If your peg chair has hollows or cracks, be sure to fill them with a small filling knife before you start painting. After spackling, you need to sand again and wipe off any sanding dust with a microfiber cloth. If you have used a lot of putty, prime with another layer of base coat.
-
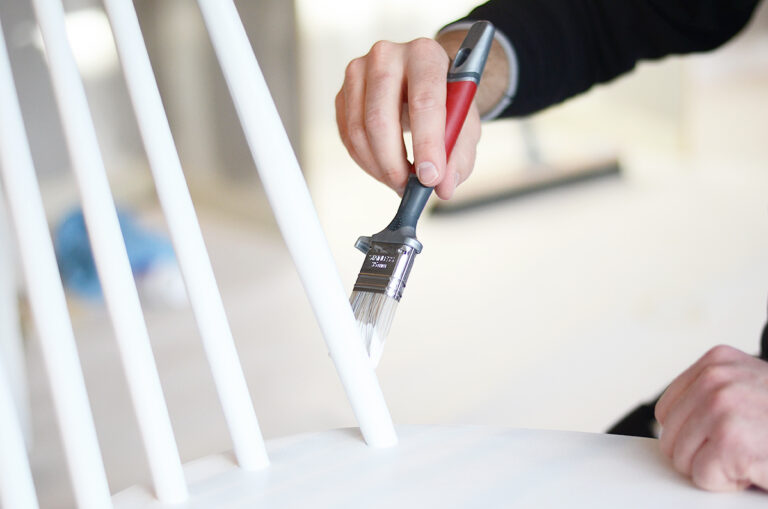
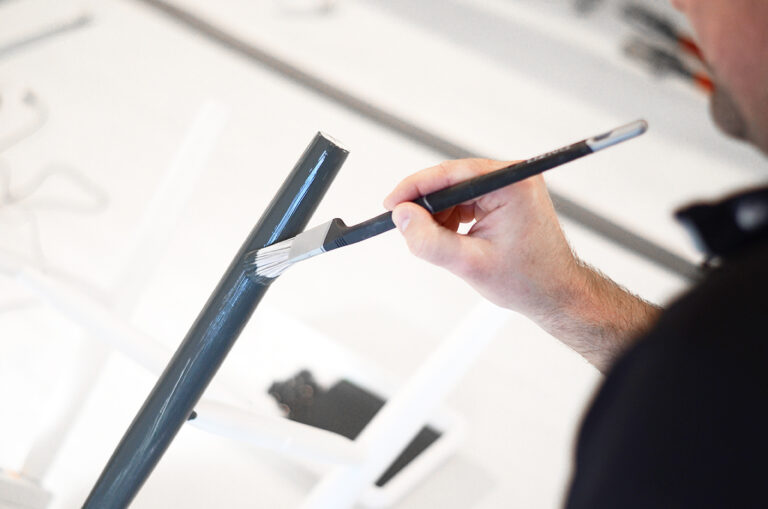
5
Paint
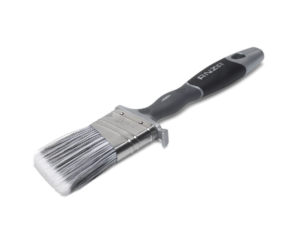
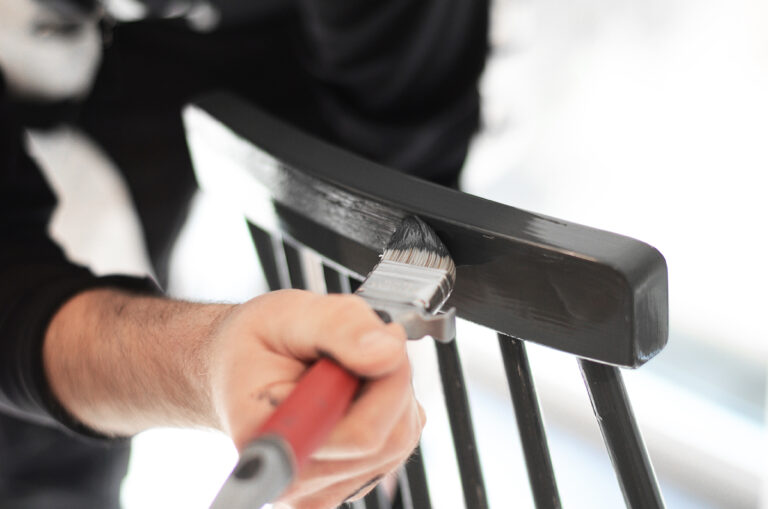
After you’ve finished the prep work, it’s time to start painting your stick chair for real! Use your chosen color and just like when you primed, start by turning the chair upside down and painting the legs and underside. Use a Platinum Precision brush for the legs and any hard-to-reach details, and a flat brush for the large surfaces. When you’re done, turn the chair back up.
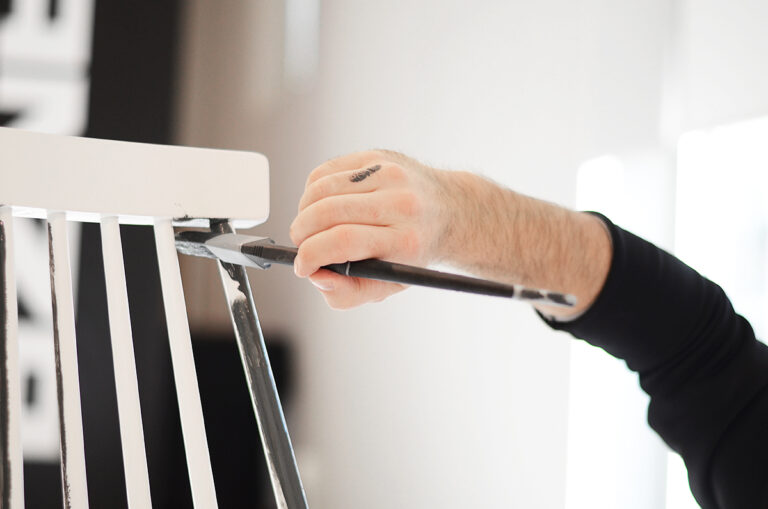
Then paint the back of the chair
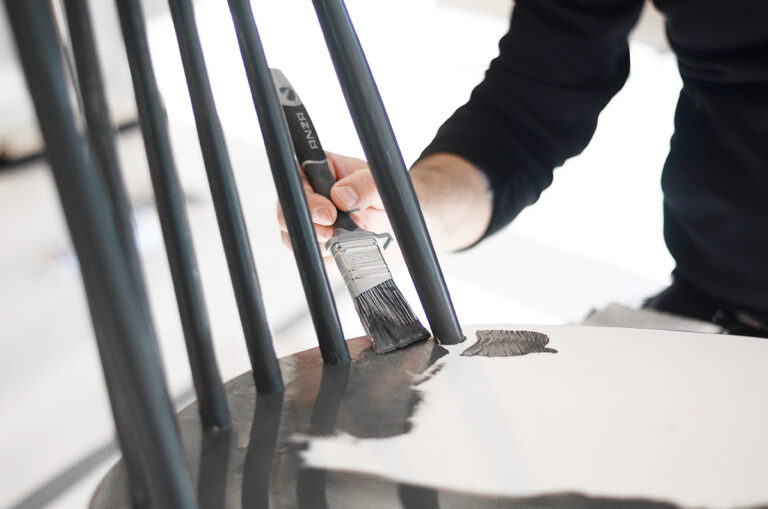
Once you have painted the bottom of the chair, move on to the back of the chair. Use the Platinum Precision brush for the chair back sticks, and to reach between each stick on the upper part of the chair back. Then use the flat brush to paint the top flat part of the chair back.
Finish by painting the chair seat
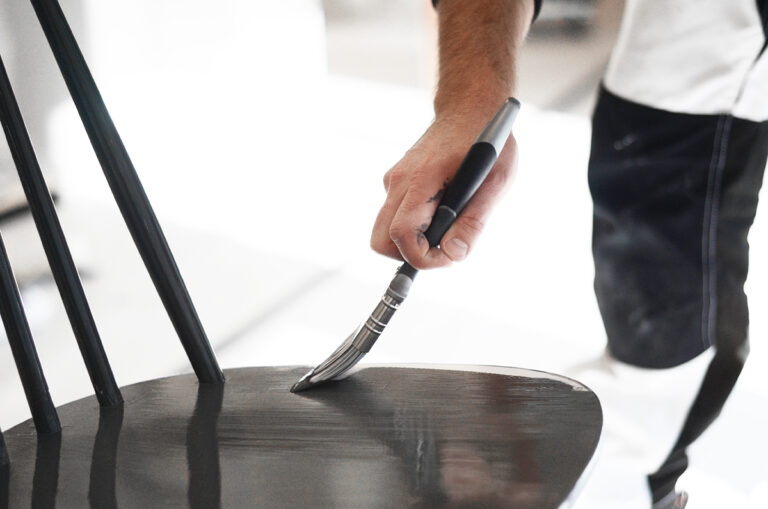
Once you have painted the other parts of the chair, finish with the seat itself. Start by painting the edges around the chair seat. Then paint the gaps between the sticks using an angle cut flat brush for easier access. Then finish by painting the remaining surface of the seat. Then let the chair dry.

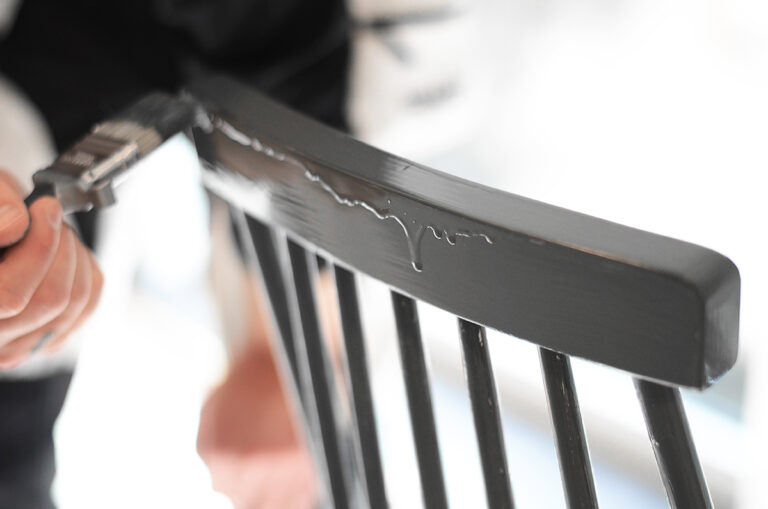
If the paint starts to run down when you paint your chair
If the paint starts to run down, make sure you smooth it out with a long brushstroke as soon as possible, before the paint has had time to dry. If the paint has dried, you need to sand down the paint that has run down and then paint another layer.
Paint another layer
When the chair has dried, paint another layer in the same way as before. Then let the paint dry, and you’re ready to try out your new chair!
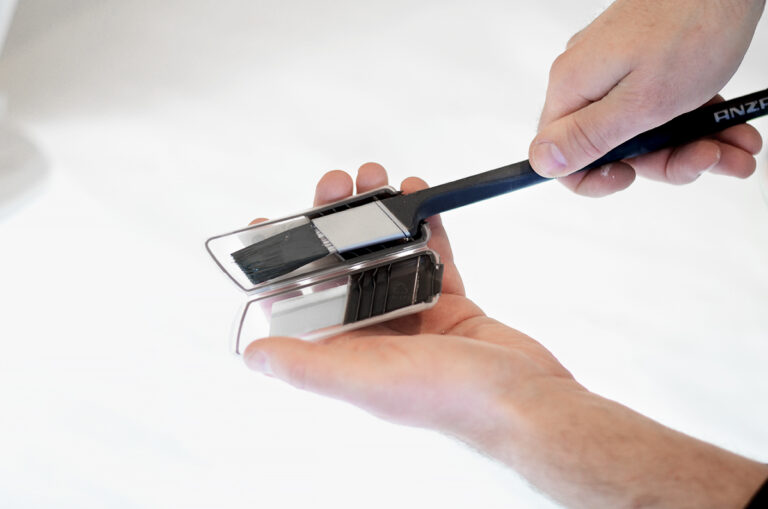
Our Platinum Precision brush comes with a storage box that ensures the paint in the brush stays wet for up to 72 hours. Perfect while you wait for the second stroke!
-
6
Done!