Plaster ceilings – how to, step by step
Are you going to paint a roof that has holes, small nicks, joints or other imperfections? Then you need to olaster before you paint and then the same principles apply as when you’re spackling the wall, but there are still a few things to be aware of. Below we tell you how to do it step by step.

-
Steg 1/3 Prep work
-
Steg 2/3 Plastering of plasterboard
-
Steg 3/3 Fill in small irregularities in the ceiling

Step by Step
-
1
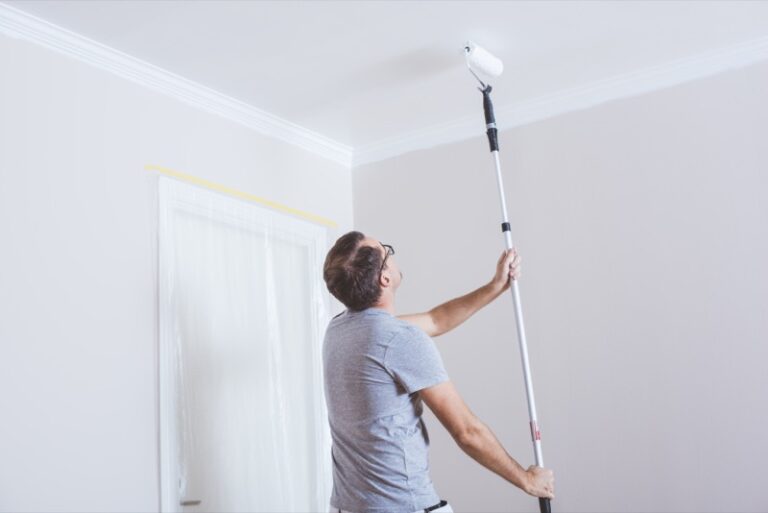
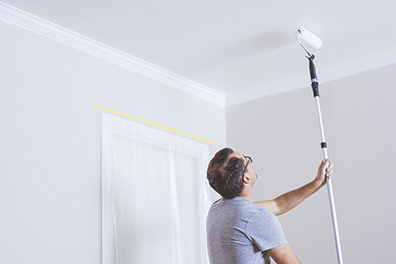
Prep work
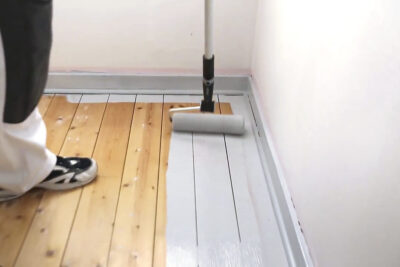
Before you start plastering the ceiling, make sure that furniture is moved and does not get in the way of the work you are about to do. Then cover the floor with cardboard to avoid splashes and stains from the plaster and any paint that may be coming off.
-
2
Plastering of plasterboard
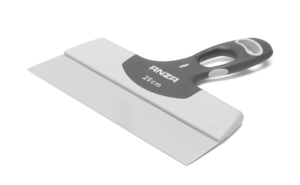
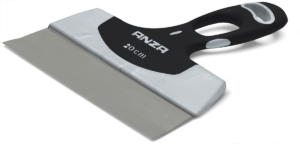
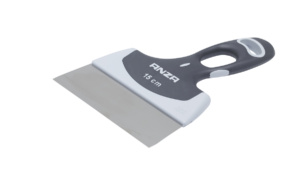
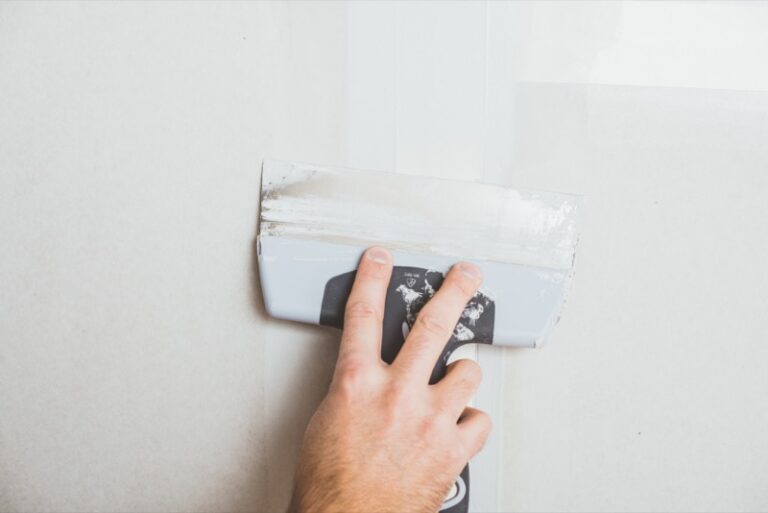
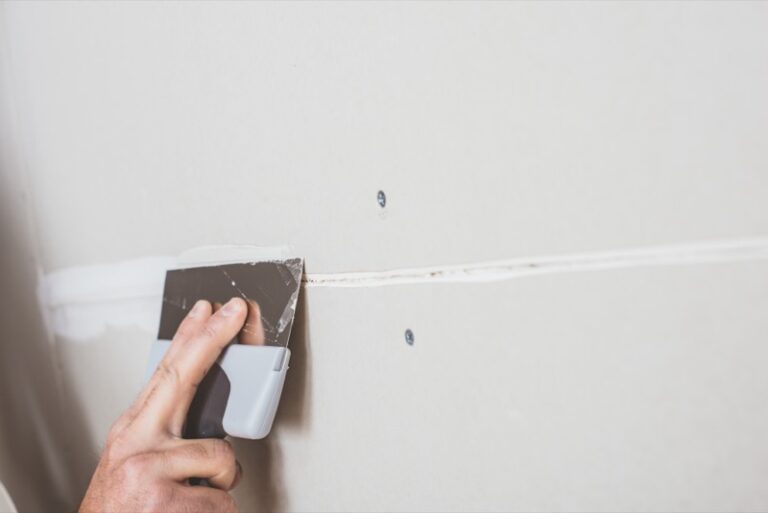
If you need to plaster new or old drywalls in the ceiling, you first need to remove any dust, so that the plaster will adhere properly. Use a microfiber cloth to cover the entire surface, then plaster all the joints where the plasterboards meet. Apply the plaster straight across the joint and then smooth it out lengthwise. Use a smaller wide filling knife (15 cm) to apply and a wider one (25 cm ) to hold the plaster.
Then apply jointing tape over the joints, to prevent the plaster from cracking. Use one of the wide filling knifes to hold the paper strip in place, and a seam and joint filling knife (or the other filling knife) to secure the strip in place with even pressure. Then apply a new, thin layer of plaster over the paper strip, also covering screw holes and other imperfections. Then let theplaster dry, preferably until the next day.
Sand and smooth before the next coat
When theplaster from the first coat has dried completely (preferably overnight), sand down the edges. Use gentle movements so you don’t sand away too much.
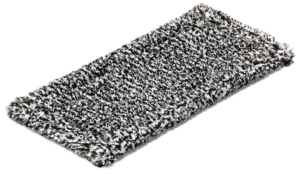
Then use a microfiber cloth to wipe off the sanding dust so that it doesn’t settle in the next coat. Once you have removed all the dust, apply a new coat of plaster. This time, apply it in a wider field along the entire joint to get a smooth and nice transition between the drywalls. When the last coat is dry, carefully sand over the plastered surfaces. Then wipe off any grinding dust once more with a microfiber cloth.
If you need to, repeat the last step again with another layer of plaster. However, make sure it has time to dry, preferably overnight, before applying a new coat.
You can see the whole principle in video form in our guide: Plastering drywalls – how to, step by step
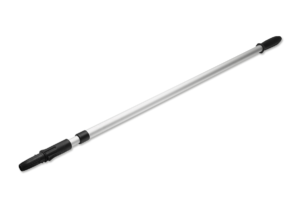
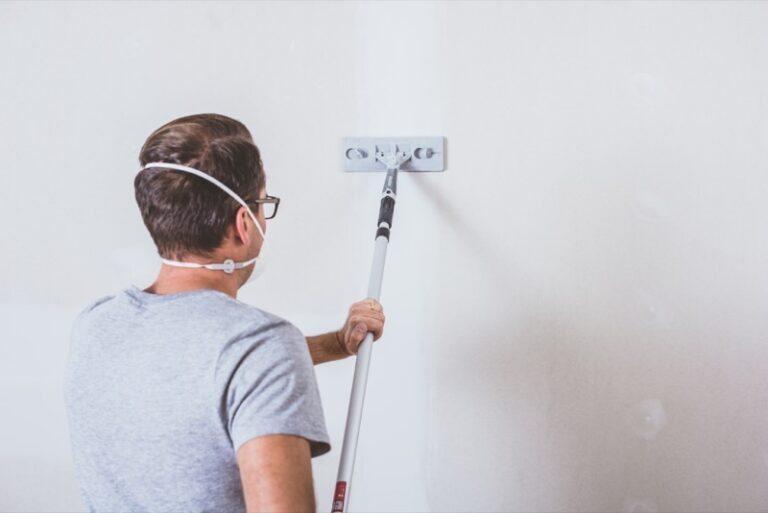
Just like when you're spackling wall, you can use an sanding tool and extension pole to reach easier when working on the ceiling.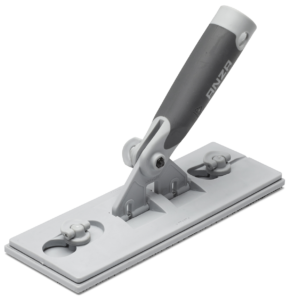
-
3
Fill in small irregularities in the ceiling
If you only have minor holes or damage in your roof, you can simply apply a thin layer of spackle over the damage and let it dry. When the first layer is completely dry, sand down the edges with gentle movements so that you don’t accidentally sand away too much. Then use a microfiber cloth to wipe off any sanding dust and apply a new coat of spackle. This time, however, you apply it over a wider area to make sure you get as smooth and even a transition between the wall and the hole as possible.
Once you have applied the last layer of spackle and everything has dried, gently sand the surface once more. Then wipe off all the grinding dust again with a microfiber cloth. Then it’s time to start painting! We show you how to do it step-by-step: Paint ceilings – how to, step by step