Plastering walls – how to, step by step
For the best results, it’s important to pay close attention to the preparatory work. The wall must be clean and smooth when you start plastering. You also need to be careful to smooth out the putty to avoid edges. These three steps will help you succeed.
-
Steg 1/3 Prep work
Produkter i användning
-
Steg 2/3 Plastering
Produkter i användning
-
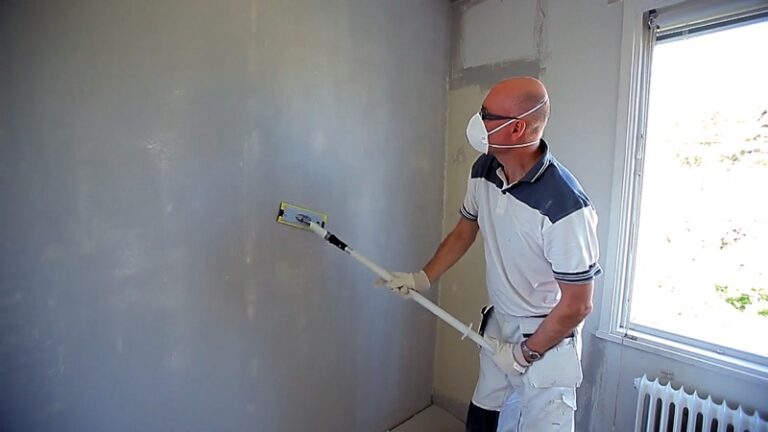
Steg 3/3 Finishing work
Produkter i användning
Step by Step
-
1
Prep work
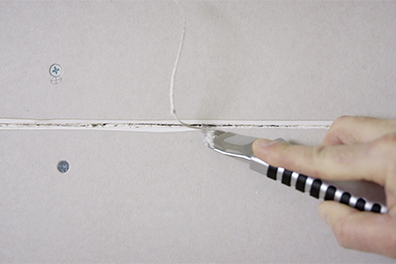
Start by covering the floor with cardboard, then you don’t have to scrape off the plaster residue afterwards. Pull out all nails and screws from the wall.
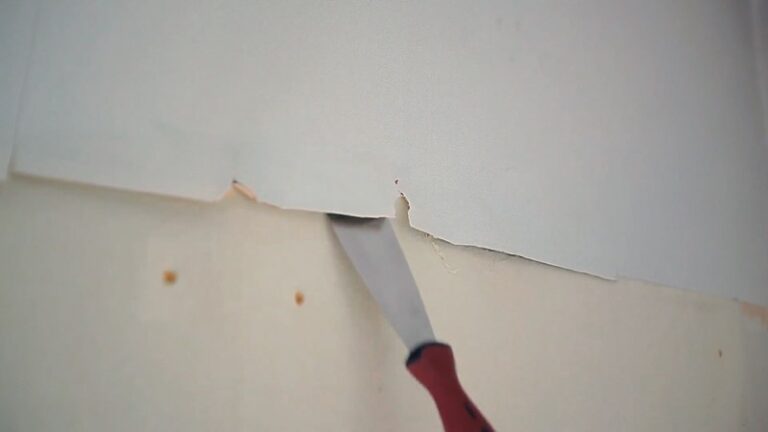
Wallpapered wall
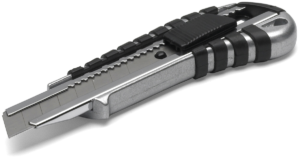
If it’s a wallpapered wall, remove any loose wallpaper with a steel scraper and cut cleanly at the edges. Loose wallpaper residue can ruin the spackling.
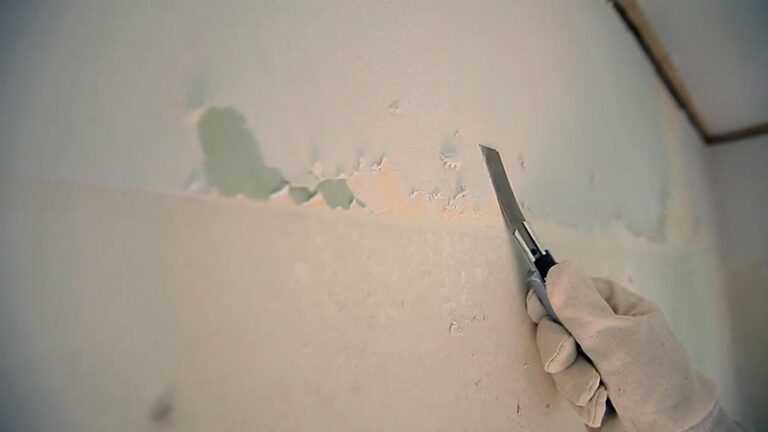
Sanding
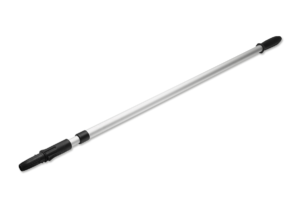
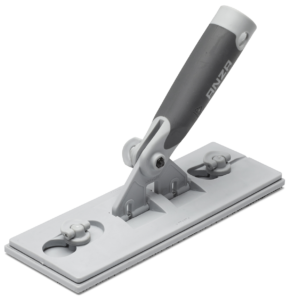
Sand the entire wall before you start plastering. Use a sanding tool and an extension pole to get everywhere, and to protect your back and shoulders.
-
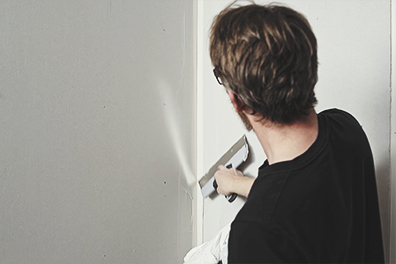
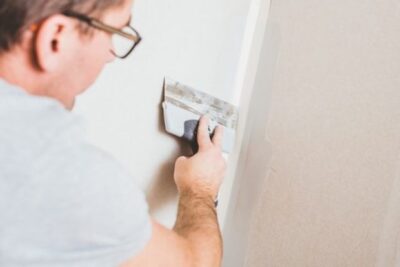
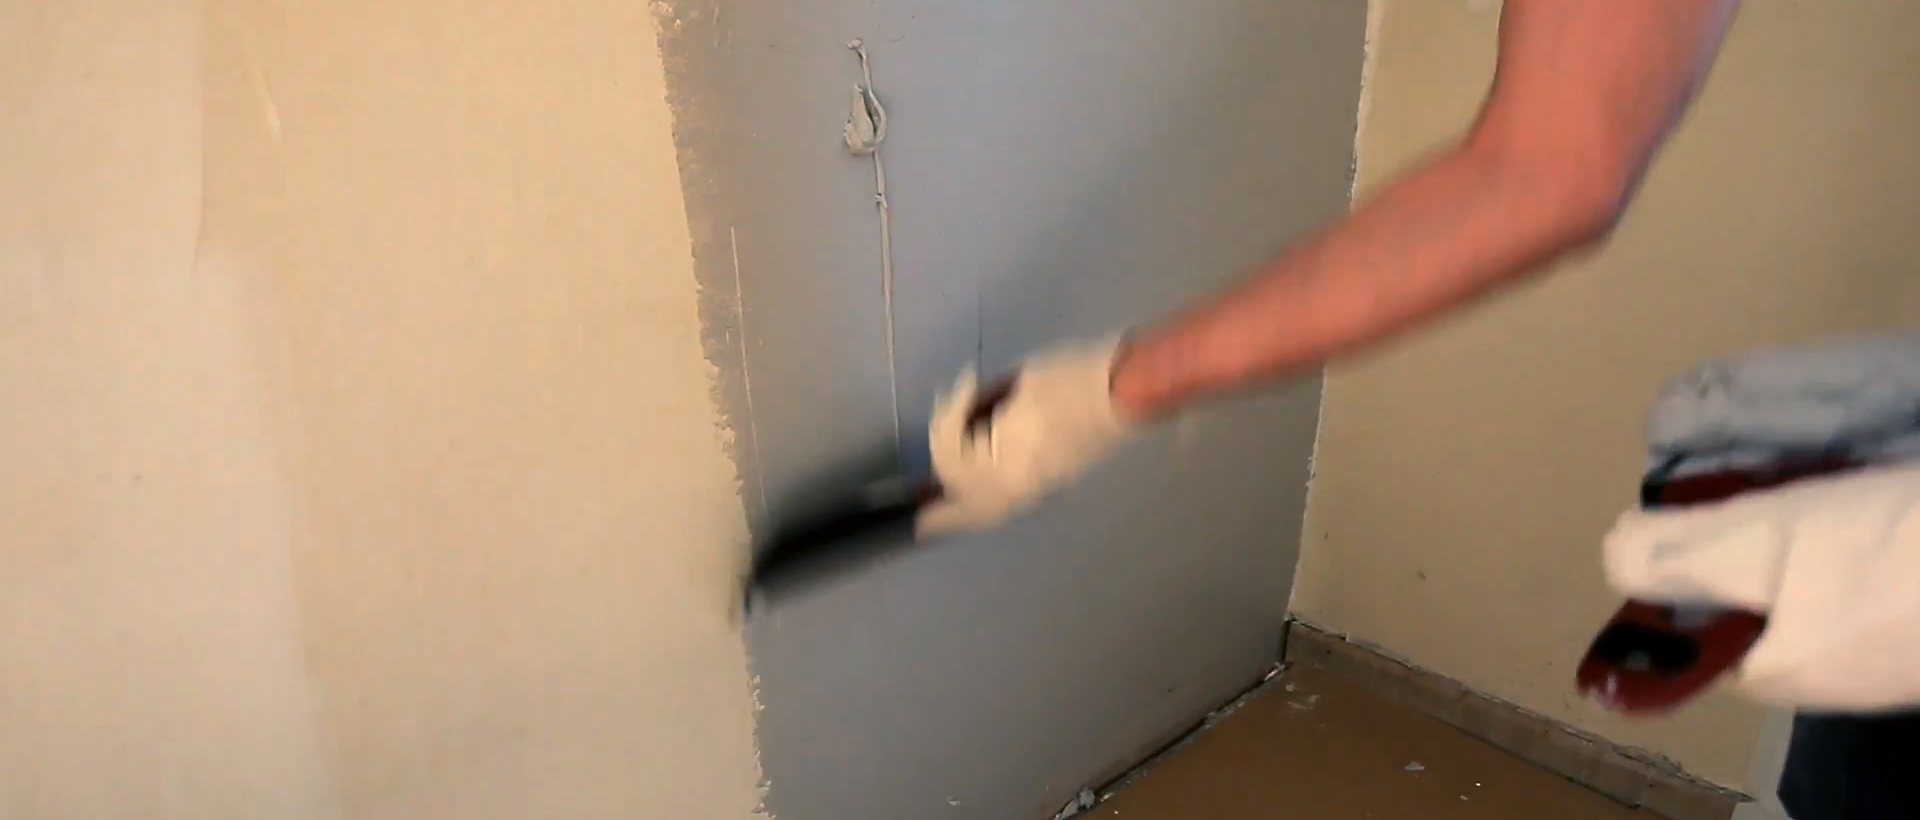
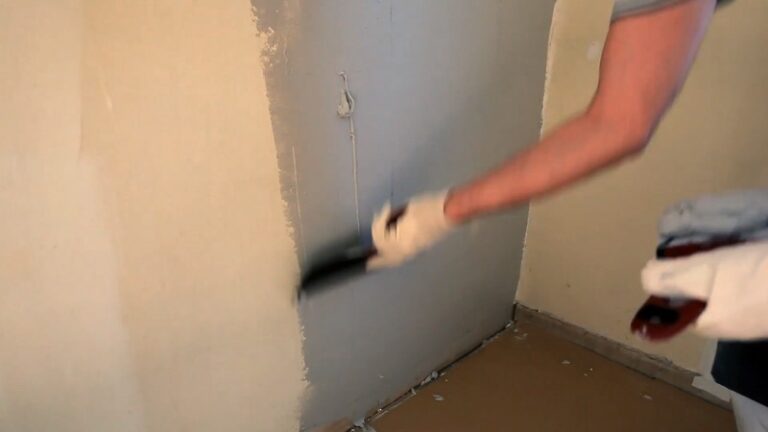
2
Plastering
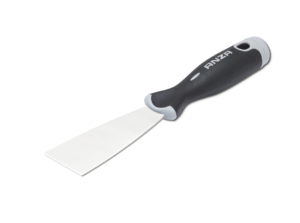
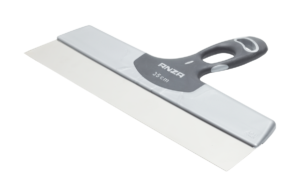
Now it’s time to plaster the whole wall. Start by applying plaster to the bottom of the wall with the smaller filling knife and pull it upwards in even strokes. Switch to the wider filling knife to even out the plaster over a larger area. Continue until the entire wall is covered.
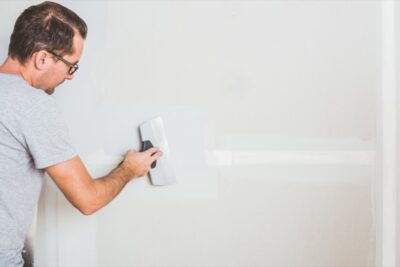
When the entire wall is finished, allow the plaster to dry according to the manufacturer’s instructions.
If you are right-handed, it is easiest to work from right to left. Remember to apply hard pressure on the left side of the plaster and no pressure on the right side. This will make it easier to spread the plaster so that you don't get any edges.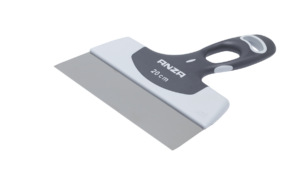

Divide the wall into sections
It is often difficult to do this for the first time, so take your time and don’t be too hard on yourself. Use the example below to divide the wall into different sections. Start by troweling from the bottom up to halfway. Then from the top to the middle. Work your way through the sections.

-
3
Finishing work
Once the plaster has dried, it’s time to sand the entire wall so that the surface is completely smooth. Use a extension pole. Don’t forget to wear respiratory protection against the sanding dust. If the wall is still uneven, you may need to plaster again. Finish by thoroughly wiping off any sanding dust on the wall and floor with a microfiber cloth that you simply attach to the sanding tool.
Feeling unsure how to apply plaster when you get to a corner? Read this article.